





AI Image Generator for Print: Prompts, Examples and Review Rules for Brand Teams
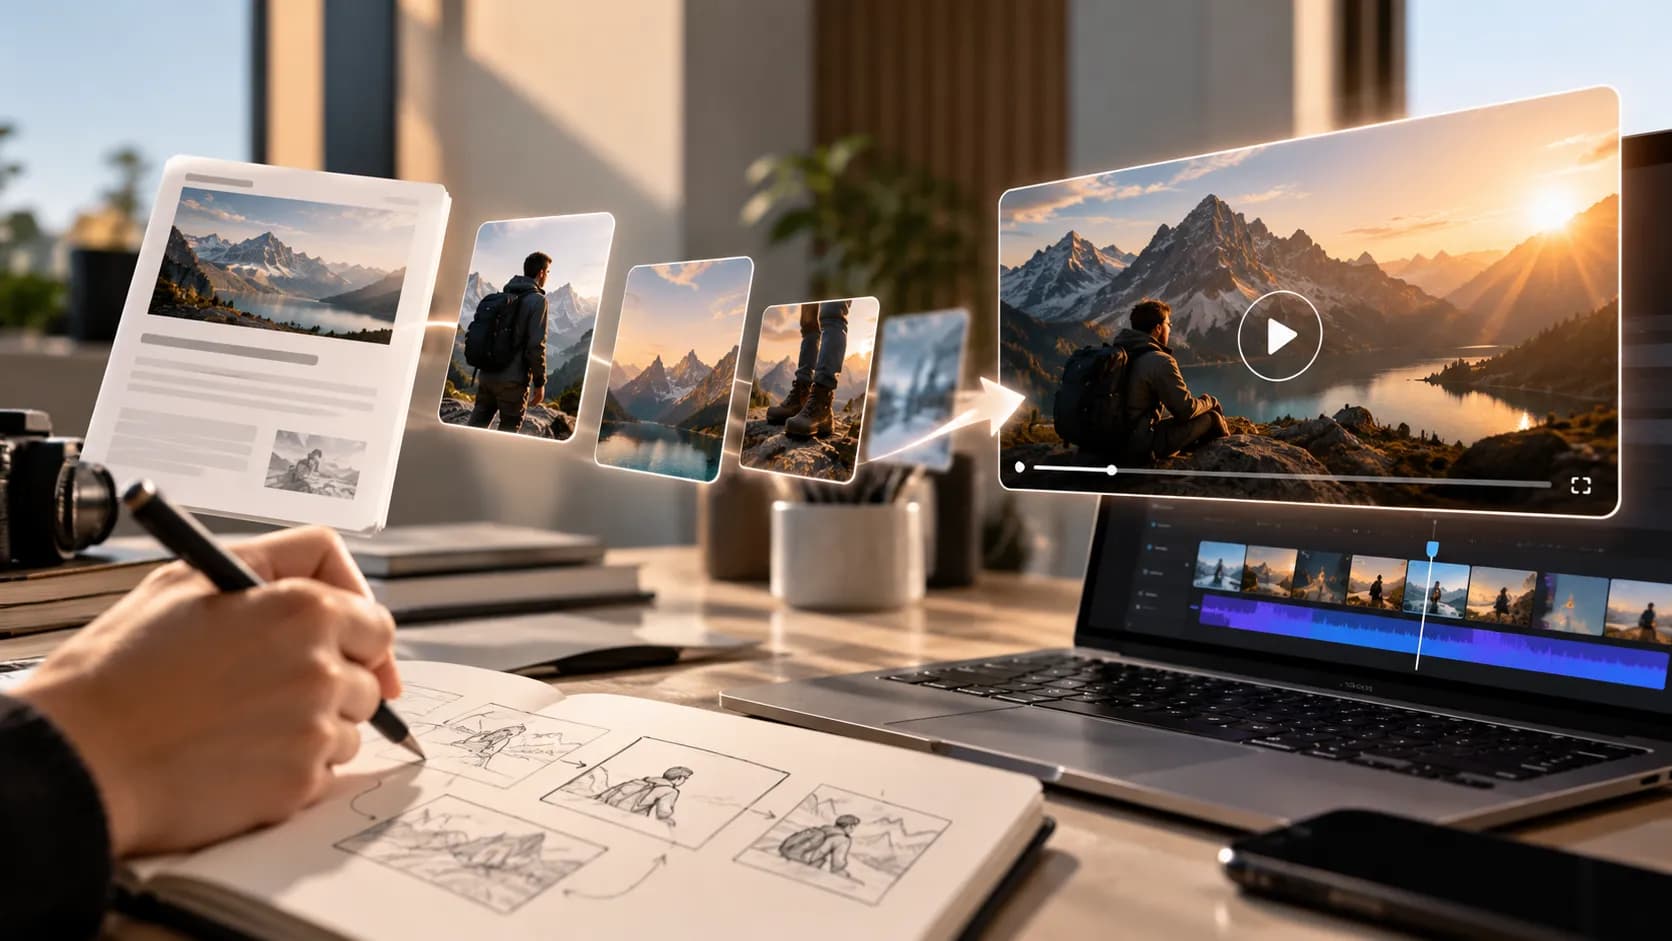
A blank image box is not the hard part. The harder question is what the visual should prove. For brand teams, event marketers, print vendors, and designers preparing AI visuals for offline use, print image generation only becomes useful when the image has a job: explain an idea, support a product page, test a campaign angle, or make a page easier to understand. That is why a structured platform such as Xelta for campaign visual teams should sit near the brief, not after the team has already written ten loose prompts.
The practical move is to start with search intent, buyer doubt, channel format, and review rules. A strong image brief says who the visual is for, where it will appear, what it must not imply, and what the reviewer should check before publishing. That turns ai image generator for print from a novelty into a repeatable content workflow.
The Practical Answer for Print-Ready AI Visuals
Use AI image generator for print concepts when the team needs poster concepts, flyer backgrounds, booth graphics, brochure visuals, and print-ready review drafts without rebuilding the whole creative process for every page or campaign. The best results usually come from a clear brief, specific visual constraints, and a human review pass. The tool can speed up exploration, but the team still owns accuracy, brand fit, usage rights, and final publishing judgment.
Why Screen-Perfect Images Can Fail in Print
An ai image may look strong on screen and still fail in print because crop, margin, scale, text, and resolution were ignored. A pretty image may still be wrong for the page if it does not match the reader's reason for searching. Someone comparing options needs clarity. Someone shopping needs proof. Someone reading a tutorial needs a visual that reduces effort.
This is where many teams waste time. They ask for a style before they define the decision. They request a cinematic scene when the page needs a simple explainer. They create ten variations with different moods, then realize none of them answer the same business question. The stronger path starts with which visuals are only concept drafts and which assets are being prepared for a real print vendor.
Search intent also changes the image brief. A commercial page should reduce buyer doubt. An informational page should clarify the concept.
A Print-Aware System for AI Image Prompts
A reliable print image generation workflow has four parts. First, define the content job. The image might support a landing page, a blog section, a social post, a marketplace listing, or a campaign test. Second, define the visual boundaries: subject, setting, style, crop, realism level, brand colors, and any details that must be avoided.
Third, create a prompt that describes the output like an art director speaking to a production partner. Mention the central object, camera angle, lighting, background, composition, and final use. Fourth, review the image like an editor, not like a fan. Check the details, ask whether the image makes a claim, and decide if the output is good enough for the channel.
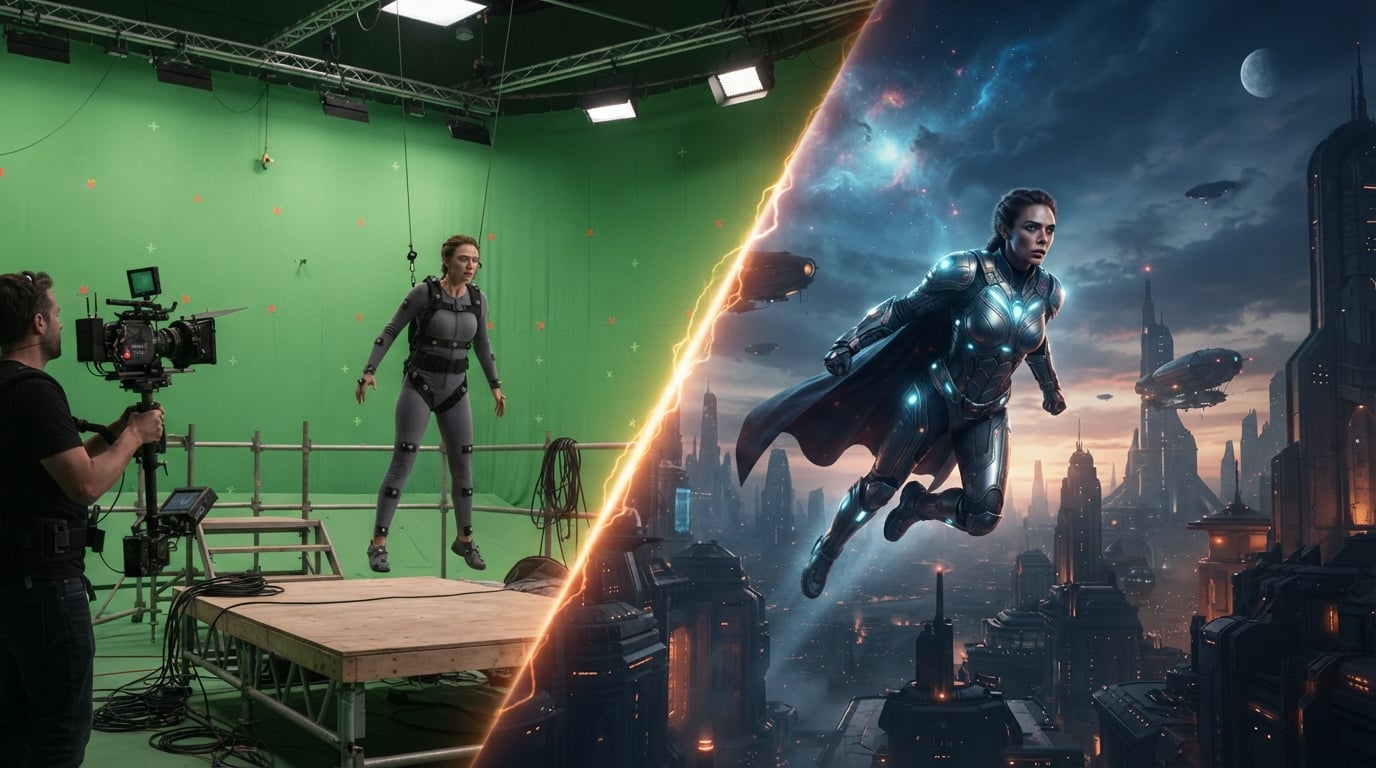
From Print Brief to Vendor-Ready Review Draft
Use these steps before writing a prompt or approving an output for print work.
Name the content job
Write one sentence that says where the image will appear and what it should help the viewer do. The input is the page, campaign, or listing goal. The output is a clear visual task. Review whether the task is specific enough to guide composition.
Define the subject and proof point
List the main object, setting, and message the image must support. The input may be a product image, brand note, room description, campaign line, or keyword angle. The output is a subject brief. Review whether the image could be misunderstood.
Set format and crop rules
Choose the aspect ratio, safe space, orientation, and channel before generation. The input is the publishing surface. The output is a format constraint. Review whether the visual will still work on mobile and in previews.
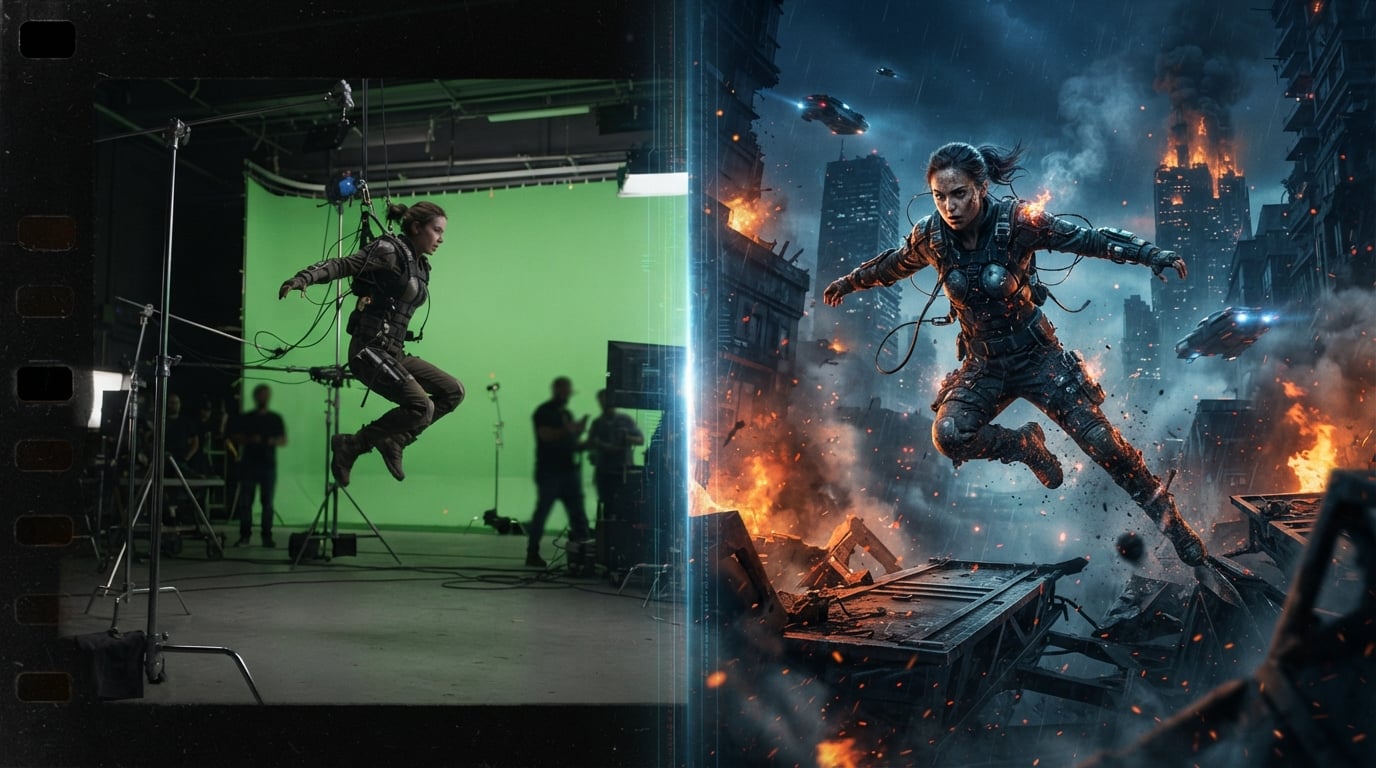
Write the first structured prompt
Describe subject, environment, lighting, camera, style, and exclusions. The input is the brief. The output is a prompt that another teammate can understand. Review whether it avoids vague words such as premium without visual detail.
Generate controlled variations
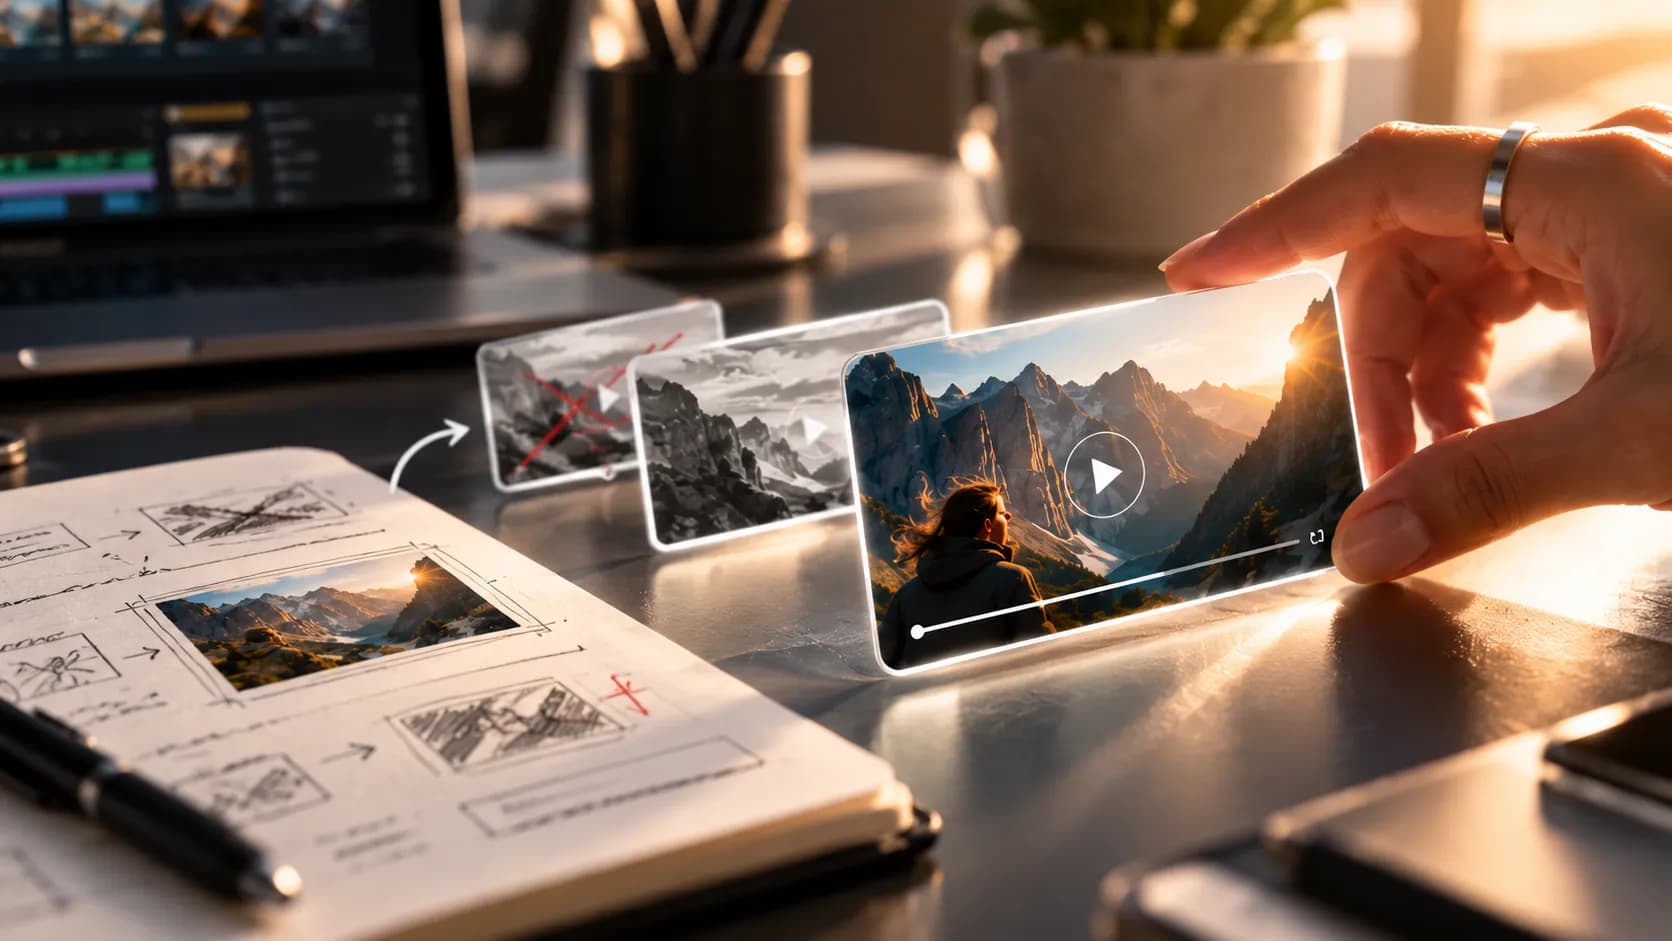
Change only one or two variables at a time, such as background, angle, prop, color mood, or composition. The input is the first draft. The output is a small variant set. Review which change actually improved the image.
Run editorial and brand review
Check accuracy, realism, visual hierarchy, implied claims, accessibility, and brand fit. The input is the shortlist. The output is a publish, revise, or reject decision. Review whether a human expert needs to approve it.
Prepare the image for publishing
Rename files, write alt text, crop for the channel, and store the final prompt beside the asset. The input is the approved image. The output is a ready asset with notes. Review whether the asset can be reused later.
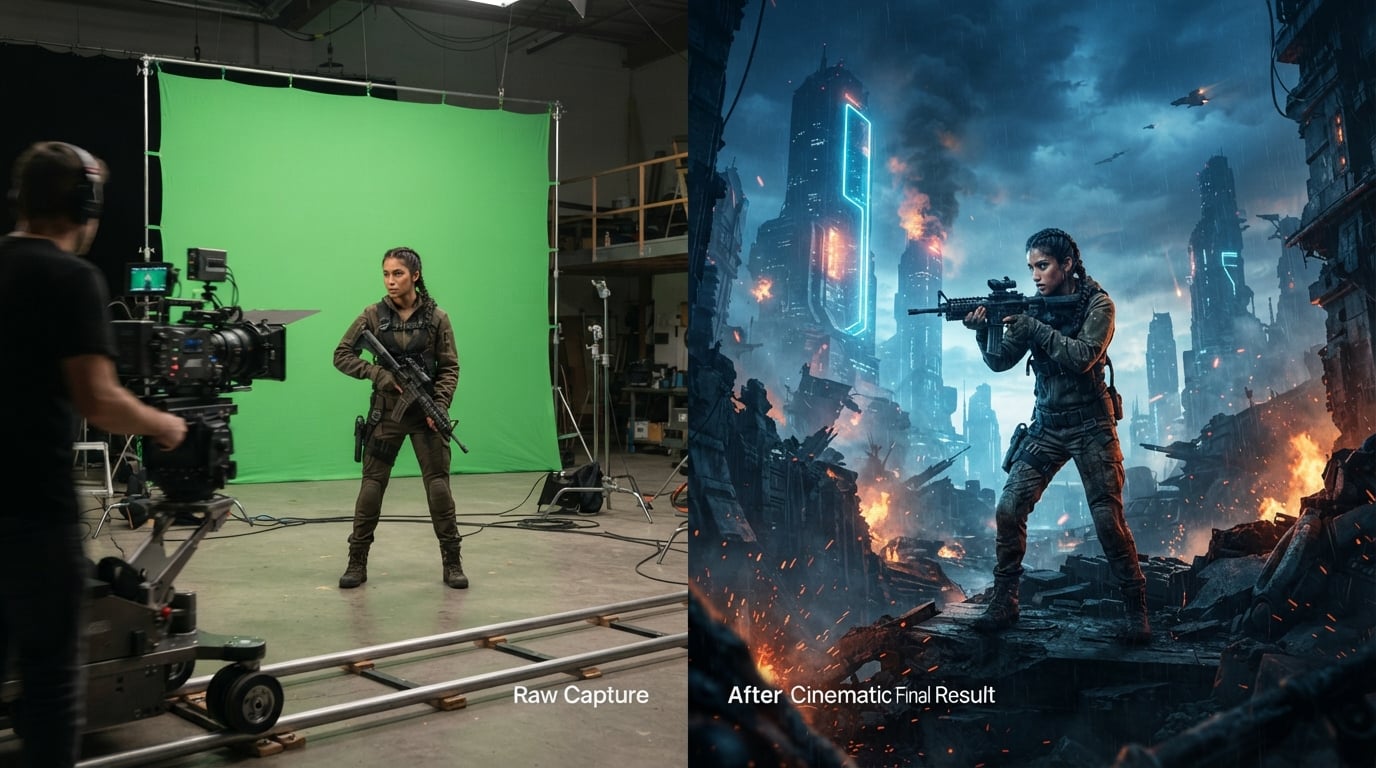
Poster, Flyer, Booth, and Brochure Image Scenarios
An event team can create a booth backdrop concept first, then ask a designer to prepare final production files with vendor specs. A retail team can test flyer visuals on screen while still checking bleed, crop, and legibility before print.
Different image types need different review rules:
- Concept draft: Explores direction. Review focus: Style and message fit.
- Design file: Prepares layout. Review focus: Bleed, margin, and typography.
- Print proof: Confirms output. Review focus: Color, scale, and material.
The point is not to make every image louder. The point is to match the visual to the moment. A buyer-facing visual should remove uncertainty. A social visual should create enough interest for the caption to work. A search graphic should make a complex idea easier to scan.
Print Image Errors That Cost Time at Production
Common failures usually come from weak direction, not weak imagination. Teams ask for a style but skip the audience. They place text inside images that may render badly. They accept unrealistic hands, impossible product scale, warped packaging, confusing shadows, or visual details that change the meaning of the offer.
Another mistake is using AI images as evidence when they are only illustrative. If the asset shows a product, property, room, or technical object, the team should review whether the image could be mistaken for a factual photo. That matters for trust.
Review Rules Before Sending AI Visuals to Print
Keep the review plain. Ask what the viewer learns in two seconds. Check whether the subject is clear at small size. Confirm that no generated text, logo, product claim, or legal detail slipped into the image by accident. Look for anatomy errors, object distortion, strange reflections, cluttered backgrounds, and details that conflict with the brand.
Then prepare the asset for search and publishing. Give the file a useful name. Write alt text that describes the image without stuffing keywords. Store the prompt, source inputs, and approval note.
Where Xelta Fits in Print and Campaign Visual Planning
Xelta fits after the team has a brief and before final design polish. A user can bring a keyword angle, campaign idea, product image, visual reference, or channel requirement into the workflow. The platform can support image exploration, visual variation, and campaign asset planning around the selected topic.
For this use case, the most relevant next step is the AI ad banner resizer workflow. It gives the team a more specific starting point than a blank prompt because the workflow points toward a defined output. Human review still matters for brand accuracy, product truth, realism, usage context, and publishing decisions.
From Poster Idea to Size-Aware Visual Options
A practical creation session would start with the source material: a brief, product note, room description, campaign message, reference style, or content outline. The user would choose a relevant image workflow, enter a structured prompt, and define the intended channel before generating the first draft.
The first useful output may not be final. A team may adjust the opening composition, remove clutter, change the background, improve lighting, test another crop, or generate a second direction for review. For learning habits and workflow references, the team can keep the Xelta AI visual production channel near its internal notes without treating any example as a substitute for its own brand review.
The advantage is repetition with control. The limitation is also clear: weak source assets, vague prompts, and unreviewed claims can still produce weak outputs. The best-fit user is someone who can define the visual job and make editorial decisions after generation.
Digital Reuse Notes for Print Campaign Assets
Image SEO should not be an afterthought. Use descriptive file names, useful alt text, nearby copy that explains the asset, and captions when the image supports a specific claim or workflow. Do not force the primary keyword into every file name. A natural description is usually more useful than a stuffed label.
For GEO and LLM discovery, make the page around the image easy to parse. Put the practical answer near the top, label examples clearly, and avoid hiding important context inside the visual alone. If an AI answer engine cannot understand the purpose of the image from the surrounding text, the asset will do less work for the page.
Treat Print Images as Production Assets
Print image generation works best when the team treats each image as a content asset, not a decoration. Start with the reader's decision, shape the prompt around the channel, and review the output with the same care you would apply to copy or claims.
Teams that want a more specific starting point can begin with a topic-specific workflow and build a review-ready image process around the exact job the asset needs to perform.