





AI Inpainting Tool Strategy for Creators That Need Useful Assets, Not Demos
A clever repair demo is easy to admire because nobody has to publish it. Creators, ecommerce teams, photographers, and campaign designers who need controlled local changes to existing images often find the defect only after the file is resized or placed in a real layout. For ai inpainting tool, the Xelta image production platform fits a disciplined process: define the job, control what may change, and keep final approval human.
Treat ai inpainting tool as a production method, not a one-off effect. The target is a useful final asset where a bounded region is repaired or replaced without damaging the subject, scene logic, brand details, or planned crop. Preserve the main subject, protected text and logos, camera perspective, lighting direction, neighboring geometry, identity details, and final publishing purpose, then test the result in the exact formats where it will be published.
A bounded edit can be controlled; an open-ended rewrite is much harder to verify. The useful boundary is the smallest region that can be changed without disturbing the evidence around it. A repeatable ai inpainting tool workflow keeps the source, edit direction, correction notes, approval, and final use connected.
A Demo Looks Clever; a Production Asset Must Survive Review
Boundary rule: An AI inpainting tool is production-ready when the edit is narrow, the protected area is clear, and the result can be reviewed against a known source. Use a precise mask, describe the replacement and exclusions, inspect boundaries and lighting, and reject outputs that change product truth, identity, text, or important geometry. For ai inpainting tool, use the AI image generation workspace for controlled exploration, then apply source, destination, and human review.
Inpainting Works Best When the Edit Has a Clear Boundary
Inpainting becomes predictable when the team can point to a narrow region and a known desired state. The final asset must preserve the main subject, protected text and logos, camera perspective, lighting direction, neighboring geometry, identity details, and final publishing purpose. Write those items as non-negotiables before any generation or edit begins. Next, define the approval evidence. Reviewers should score mask control, boundary blending, lighting continuity, geometry, texture, semantic accuracy, and the amount of finishing work still needed. For ai inpainting tool, decide what counts as approve, revise, and reject before the first candidate is shown.
Choose Source Images With Enough Visual Evidence
A useful inpainting brief is a repair instruction, not a mood board. The input pack should contain a high-quality source, a precise mask, a description of the desired replacement, exclusions, reference details, and a pass-or-reject scorecard. The ai inpainting tool input pack should also name the approver and the reason the asset exists. A clear destination narrows composition, texture, crop, and export decisions. The expected outputs are the inpainted candidate, mask record, comparison proof, final-size crop, defect notes, and an approved master with revision history. Keep them together with the source and revision note. That ai inpainting tool record lets another teammate understand, repeat, or challenge the decision without relying on memory.

A Repeatable Inpainting Strategy for Real Deliverables
-
Define the local repair. For ai inpainting tool, use the approved input pack to create a job statement; review it before continuing. 2. Prepare the mask and exclusions. For ai inpainting tool, use the approved input pack to create a source-risk note; review it before continuing. 3. Select a supporting reference. For ai inpainting tool, use the approved input pack to create a protected-area map; review it before continuing. 4. Generate restrained candidates. For ai inpainting tool, use the approved input pack to create a candidate set; review it before continuing.
-
Check boundaries and scene logic. For ai inpainting tool, use the approved input pack to create a defect record; review it before continuing. 6. Finish only the chosen route. For ai inpainting tool, use the approved input pack to create a approved proof pack; review it before continuing. 7. Archive source and edit record. For ai inpainting tool, use the approved input pack to create a handoff record; review it before continuing.
Test the route on a product lifestyle scene with a damaged table corner, an unwanted cable, and a small background sign that must be replaced without altering the product. Keep one major variable stable, record the changed instruction, and reject any candidate that damages the main subject, protected text and logos, camera perspective, lighting direction, neighboring geometry, identity details, and final publishing purpose. At the last gate, score mask control, boundary blending, lighting continuity, geometry, texture, semantic accuracy, and the amount of finishing work still needed and write down the remaining limitation before export.
What to Replace, What to Repair and What to Leave Alone
Inpainting errors frequently cross the mask or alter nearby scene logic. Common failures include bleeding across the mask, changed hands or faces, bent product edges, repeated textures, inconsistent shadows, new text, and repairs that look plausible but conflict with the real product. Each ai inpainting tool defect should trigger a clear action: local repair, a changed boundary, a more conservative route, or source rejection. Best practice is different from correction. Keep the mask narrow, use explicit exclusions, and compare the result with neighboring light, texture, and geometry. Update the ai inpainting tool checklist so that failure is easier to catch on the next assignment.
Prompt Detail, Mask Quality and Model Choice
A local repair, a regenerated scene, and source replacement solve different problems: local manual retouching, targeted inpainting, full scene regeneration, and source replacement when the hidden area is too important to guess. Compare the ai inpainting tool routes by correction cost, control, source quality, destination risk, and finishing skill. Use the lowest-risk method that meets the brief. Automation adds value to ai inpainting tool when the task is bounded and repeatable. For ai inpainting tool, manual work remains stronger around exact text, delicate identity details, strict geometry, or missing evidence.
Where Xelta Fits in Controlled Image Repair
Xelta fits after the edit boundary and desired replacement are clear. A user can begin with a high-quality source, a precise mask, a description of the desired replacement, exclusions, reference details, and a pass-or-reject scorecard and create a small comparison that can be scored against mask control, boundary blending, lighting continuity, geometry, texture, semantic accuracy, and the amount of finishing work still needed. The first draft is a candidate, not an automatic final asset.
The platform can reduce repetitive variation and proof creation for teams that can define a narrow edit and evaluate the result against a known source rather than browsing for a completely new image. Human reviewers still own the main subject, protected text and logos, camera perspective, lighting direction, neighboring geometry, identity details, and final publishing purpose, rights, claims, realism, accessibility, and the publishing decision.
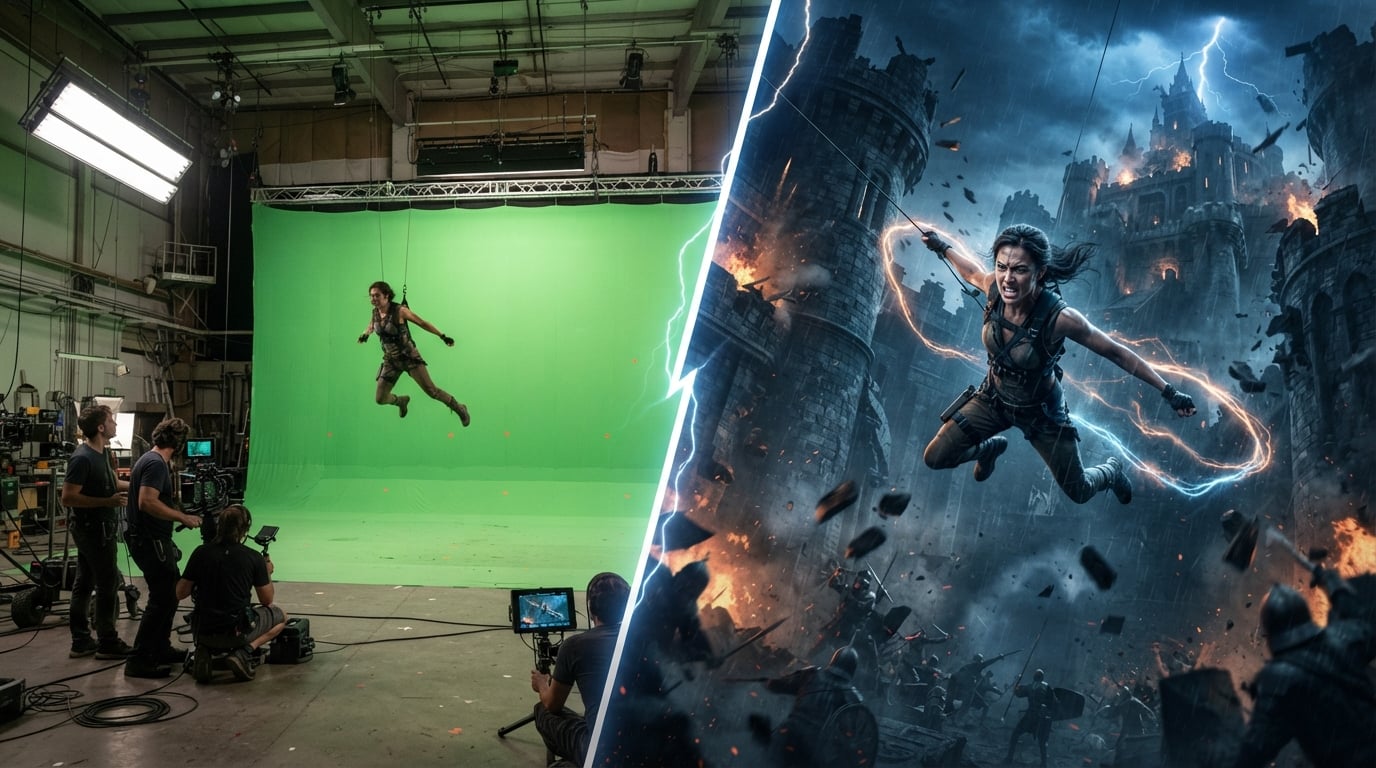
From Damaged Product Scene to Approved Campaign Variation
Input: a high-quality source, a precise mask, a description of the desired replacement, exclusions, reference details, and a pass-or-reject scorecard. Action: mask the damaged region and describe the intended repair. First draft: a small set of local repairs. Iteration: narrow the mask, strengthen exclusions, or regenerate only the failed zone. Human review: boundaries, lighting, geometry, identity, and product truth. Final use: the inpainted candidate, mask record, comparison proof, final-size crop, defect notes, and an approved master with revision history.
The repetitive advantage is faster comparison and planned versioning. The learning curve is source selection and boundary control. Users should expect large masked regions, missing structural evidence, exact typography, complex hands, reflections, and regulated product details can remain difficult and need specialist review. The Xelta image repair guidance can support broader learning, but the team must still apply its own brief and approval rules.
Check Lighting, Geometry and Brand Truth
Inpainting records should preserve the source, mask, instruction, candidate, and final manual changes. Save the ai inpainting tool source, brief, changed variable, candidate, reviewer, decision, and known limitation. That ai inpainting tool record supports editorial accountability without implying direct testing of every product condition. The guidance is written for creators, ecommerce teams, photographers, and campaign designers who need controlled local changes to existing images and is based on common production controls: bounded inputs, comparable outputs, destination proofs, and human approval. Describe the final repaired scene accurately and avoid implying that the tool verified product, historical, or identity details. Keep factual and legal claims outside the ai inpainting tool asset unless they are approved separately.
Build an Edit Record That Another Creator Can Reproduce
Write a repair rule for each common boundary failure. The passing check is: mask saved; exclusions recorded; boundary and lighting passed; product checked; finishing noted; final use approved. Record each ai inpainting tool failure reason so the next brief can improve.
Track one ai inpainting tool measure, such as repair minutes, revision rounds, approval delay, or reuse. Then test a product lifestyle scene with a damaged table corner, an unwanted cable, and a small background sign that must be replaced without altering the product at 100 percent, at final size, and inside the real layout before the ai inpainting tool workflow is expanded.
The Useful Asset Is the One That Needs Less Explanation
Inpainting becomes useful when the edit is bounded, the evidence is visible, and the final asset needs less explanation than the demo. Start the ai inpainting tool rollout with one real assignment and complete the full approval cycle before scaling. Keep the ai inpainting tool source, rejected candidates, repair notes, and decision together so the next project begins with evidence.
For a controlled next step, use the stable image inpainting workflow with a narrow brief and a named reviewer. The goal is not to remove every manual decision. The aim of ai inpainting tool is easier repeated production while the final asset remains accurate, useful, and channel-ready.