






AI Photo Enhancer for Search, Social and Paid Media: What Changes by Channel
Sharpening an image for one channel can make the same file look artificial in another. Seo teams, social managers, media buyers, ecommerce marketers, and designers adapting one source image across channels often find the defect only after the file is resized or placed in a real layout. For ai photo enhancer, the Xelta image workflow platform fits a disciplined process: define the job, control what may change, and keep final approval human.
Treat ai photo enhancer as a production method, not a one-off effect. The target is three channel-specific versions that improve recognition without inventing detail, changing product appearance, or over-processing the source. Preserve product color, facial identity, packaging text, material texture, campaign message, and any detail that could influence a buying decision, then test the result in the exact formats where it will be published.
Channel context changes the acceptable balance between crisp detail, natural texture, crop space, and fast recognition. Each channel needs its own balance of clarity, natural texture, crop space, and message hierarchy. A repeatable ai photo enhancer workflow keeps the source, edit direction, correction notes, approval, and final use connected.
The Same Enhancement Can Help Search and Hurt an Ad
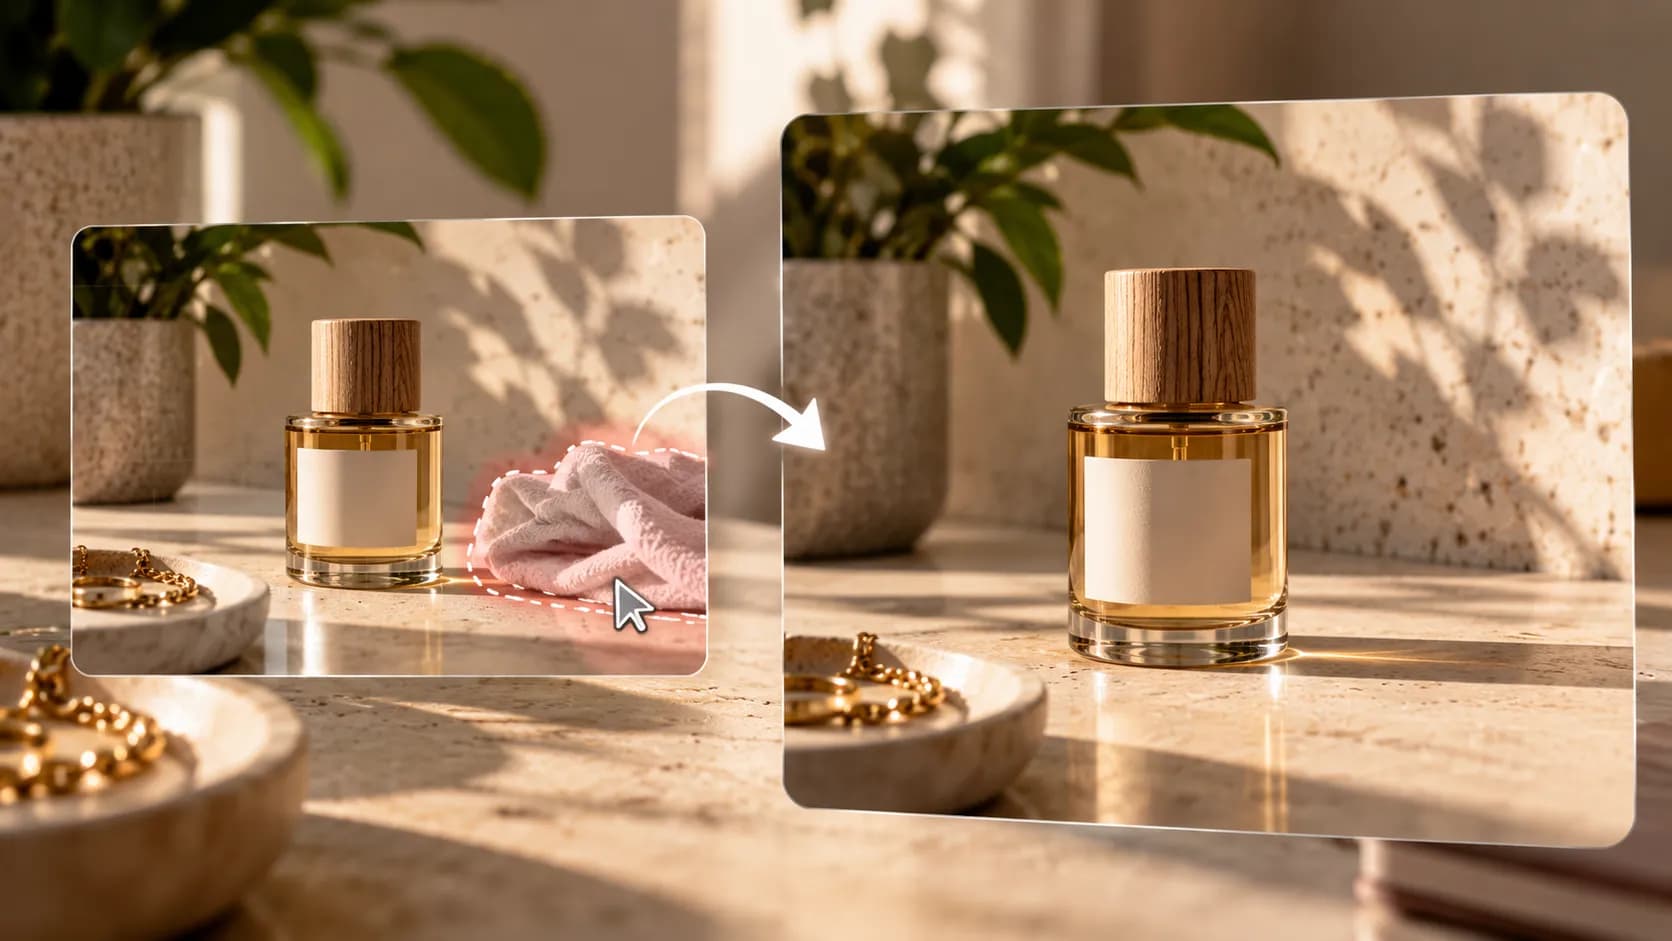
The channel should choose the treatment: AI photo enhancer settings should change by channel. Search pages need accurate detail and fast comprehension; social images must remain clear at small size; paid media must survive crops, overlays, and repeated exposure. Create separate versions from one approved source, then review color, texture, text, and product truth on the actual canvas. For ai photo enhancer, use the AI image generator workspace for controlled exploration, then apply source, destination, and human review.
Define the Channel Before Adjusting Detail
Search, social, and paid media ask the same source image to perform different jobs. The final asset must preserve product color, facial identity, packaging text, material texture, campaign message, and any detail that could influence a buying decision. Write those items as non-negotiables before any generation or edit begins.
Next, define the approval evidence. Reviewers should score subject clarity, natural detail, color accuracy, noise control, crop resilience, overlay readability, and absence of invented texture. For ai photo enhancer, decide what counts as approve, revise, and reject before the first candidate is shown. One universal file usually over-sharpens, over-crops, or under-communicates somewhere in the journey.
Search Images Need Clarity Without False Product Information
Write a short channel brief for each destination. The input pack should contain the original file, destination dimensions, channel context, overlay or copy safe zones, device-size previews, and a channel review checklist. The ai photo enhancer input pack should also name the approver and the reason the asset exists. A clear destination narrows composition, texture, crop, and export decisions. The expected outputs are a search-ready image, a small-screen social version, a paid-media version, comparison proofs, and a channel-specific approval note. Keep them together with the source and revision note. That ai photo enhancer record lets another teammate understand, repeat, or challenge the decision without relying on memory.

Social Feeds Reward Fast Recognition at Small Size
-
Define the search job. For ai photo enhancer, use the approved input pack to create a job statement; review it before continuing. 2. Prepare the social crop. For ai photo enhancer, use the approved input pack to create a source-risk note; review it before continuing. 3. Map paid-media safe zones. For ai photo enhancer, use the approved input pack to create a protected-area map; review it before continuing. 4. Create separate versions. For ai photo enhancer, use the approved input pack to create a candidate set; review it before continuing.
-
Review on real canvases. For ai photo enhancer, use the approved input pack to create a defect record; review it before continuing. 6. Check product truth. For ai photo enhancer, use the approved input pack to create a approved proof pack; review it before continuing. 7. Store channel masters. For ai photo enhancer, use the approved input pack to create a handoff record; review it before continuing.
Test the route on a low-light product-and-founder photo used on a search landing page, a vertical social post, and a paid carousel with headline overlays. Keep one major variable stable, record the changed instruction, and reject any candidate that damages product color, facial identity, packaging text, material texture, campaign message, and any detail that could influence a buying decision. At the last gate, score subject clarity, natural detail, color accuracy, noise control, crop resilience, overlay readability, and absence of invented texture and write down the remaining limitation before export.
Paid Media Needs Variants That Survive Crops and Overlays
Enhancement problems are often created by applying one correction too aggressively. Common failures include crunchy sharpening, plastic skin, glowing edges, false fabric detail, crushed shadows, oversaturated product color, unreadable text, and enhancement that changes the promise of the image. Each ai photo enhancer defect should trigger a clear action: local repair, a changed boundary, a more conservative route, or source rejection.
Best practice is different from correction. Create separate masters and review them on a small phone preview, a page layout, and the actual ad canvas. Update the ai photo enhancer checklist so that failure is easier to catch on the next assignment. The ai photo enhancer process improves when reviewers turn a defect into a reusable rule.
A Channel-Specific Enhancement Workflow
Channel adaptation can use one master, separate versions, or manual finishing: one universal enhanced file, separate channel masters, and manual finishing for high-risk product, portrait, or text-heavy assets. Compare the ai photo enhancer routes by correction cost, control, source quality, destination risk, and finishing skill. Use the lowest-risk method that meets the brief. Automation adds value to ai photo enhancer when the task is bounded and repeatable. For ai photo enhancer, manual work remains stronger around exact text, delicate identity details, strict geometry, or missing evidence.
Where Xelta Fits in Cross-Channel Image Preparation
Xelta fits after channel needs and protected details are documented. A user can begin with the original file, destination dimensions, channel context, overlay or copy safe zones, device-size previews, and a channel review checklist and create a small comparison that can be scored against subject clarity, natural detail, color accuracy, noise control, crop resilience, overlay readability, and absence of invented texture. The first draft is a candidate, not an automatic final asset.
The platform can reduce repetitive variation and proof creation for teams reusing approved photography across several channels with different crop, size, and attention conditions. Human reviewers still own product color, facial identity, packaging text, material texture, campaign message, and any detail that could influence a buying decision, rights, claims, realism, accessibility, and the publishing decision.

From One Source Image to Three Review-Ready Versions
Input: the original file, destination dimensions, channel context, overlay or copy safe zones, device-size previews, and a channel review checklist. Action: prepare one source for separate search, social, and paid outputs. First draft: three channel drafts with distinct crop and detail priorities. Iteration: reduce sharpening, protect color, or rebalance a channel crop. Human review: color, texture, noise, overlays, crop, and small-size clarity. Final use: a search-ready image, a small-screen social version, a paid-media version, comparison proofs, and a channel-specific approval note.
The repetitive advantage is faster comparison and planned versioning. The learning curve is source selection and boundary control. Users should expect enhancement can improve visibility but cannot restore reliable facts that are absent, blurred, compressed, or hidden in the source. The Xelta image creation guidance can support broader learning, but the team must still apply its own brief and approval rules.
Noise, Sharpening and Color Errors to Reject
Channel-specific enhancement should be documented as adaptation, not as a claim that the source gained factual detail. Save the ai photo enhancer source, brief, changed variable, candidate, reviewer, decision, and known limitation. That ai photo enhancer record supports editorial accountability without implying direct testing of every product condition. The guidance is written for SEO teams, social managers, media buyers, ecommerce marketers, and designers adapting one source image across channels and is based on common production controls: bounded inputs, comparable outputs, destination proofs, and human approval. Create channel-appropriate filenames and alt text, then place each version near copy that explains its role on the page or campaign. Keep factual and legal claims outside the ai photo enhancer asset unless they are approved separately.
Use Alt Text and Filenames to Support the Final Asset
Keep a source master and a separate approved file for each channel. The passing check is: channel purpose stated; crop and safe zones passed; color accurate; small-size clarity checked; overlay readable; master named. Record each ai photo enhancer failure reason so the next brief can improve.
Track one ai photo enhancer measure, such as repair minutes, revision rounds, approval delay, or reuse. Then test a low-light product-and-founder photo used on a search landing page, a vertical social post, and a paid carousel with headline overlays at 100 percent, at final size, and inside the real layout before the ai photo enhancer workflow is expanded.
Approve Each Channel Version on Its Actual Canvas
Enhancement works when each channel receives the clarity it needs without changing what the source can honestly show. Start the ai photo enhancer rollout with one real assignment and complete the full approval cycle before scaling. Keep the ai photo enhancer source, rejected candidates, repair notes, and decision together so the next project begins with evidence.
For a controlled next step, use the low-light enhancement workflow with a narrow brief and a named reviewer. The goal is not to remove every manual decision. The aim of ai photo enhancer is easier repeated production while the final asset remains accurate, useful, and channel-ready.