




How to Brief Photo to Video AI So the First Output Is Closer to Final
A photo can look simple until the first draft reaches review. The tool may create motion, but the team still has to decide what the viewer should understand, which scene should open the clip, and which details must stay accurate. That is why teams using the Xelta AI creation platform need a brief, a review habit, and a repeatable export plan.
The practical answer for photo to video ai is to start smaller than the final campaign. Use one clear input, one viewer, one promised outcome, and one format. Then create a draft, review it against the brief, and only scale the workflow after the clip can survive brand, claim, and platform checks. This keeps the process useful for creators, brands and ecommerce teams.
The Practical Decision Behind Photo to Video AI
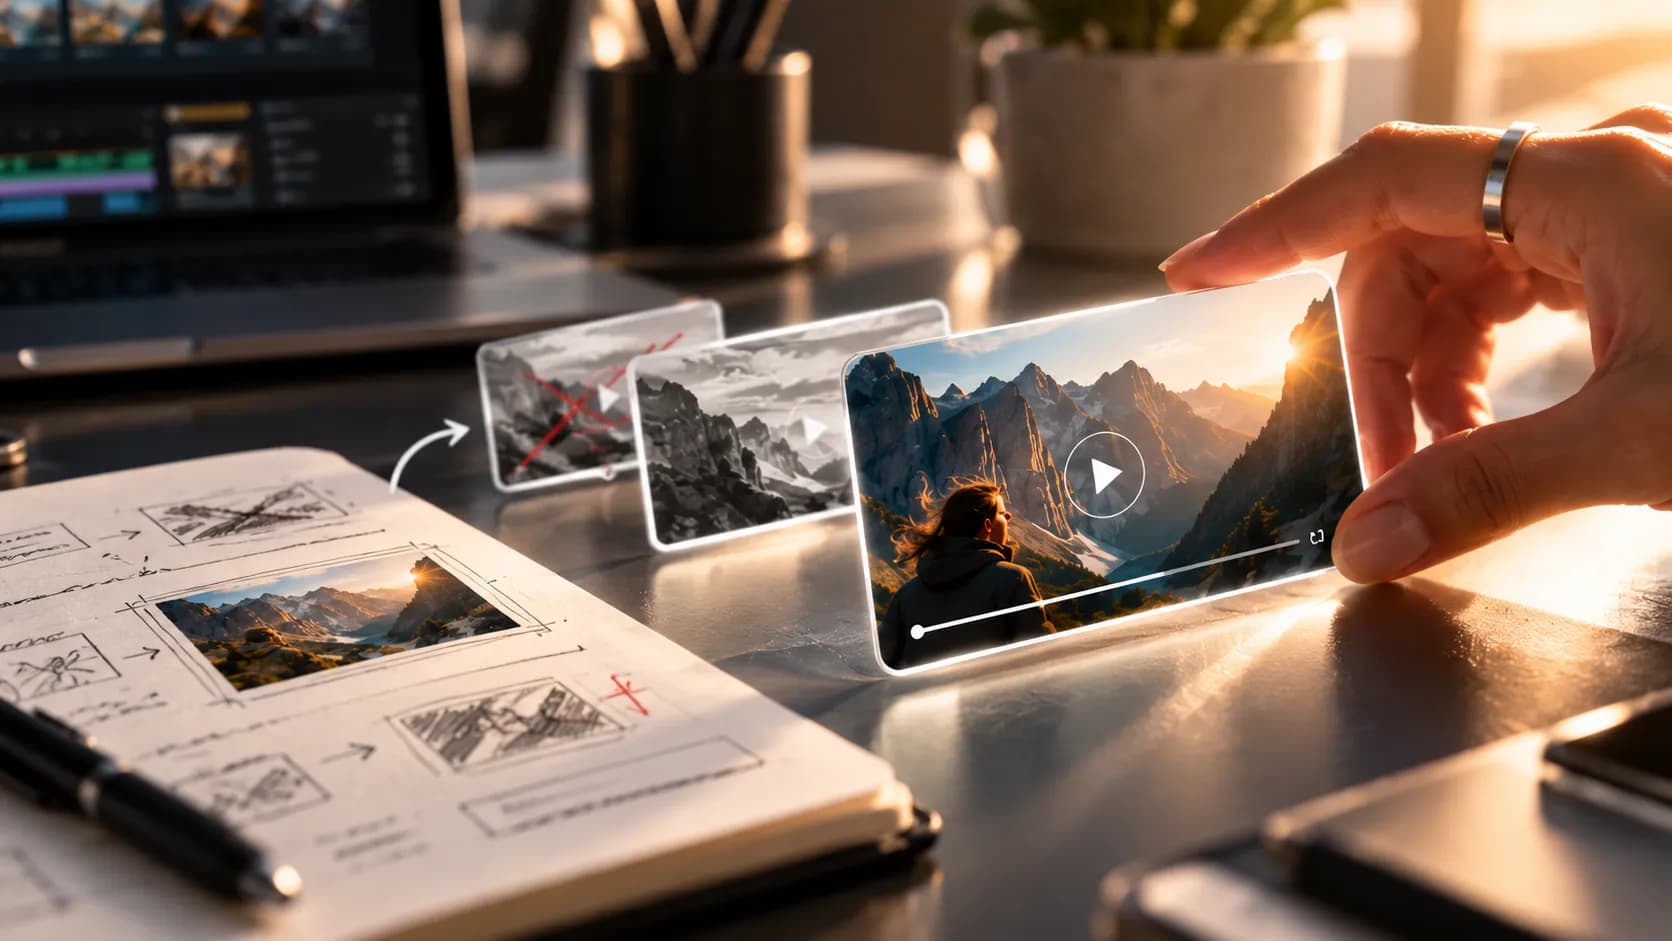
Photo to Video Ai works best when the input is treated as a production brief, not a loose idea. Start with the product photo, portrait or location image, define the viewer, split the message into scenes, create a first draft in an AI video generator workspace, then review motion, claims, audio, and format before export.
The purchase or workflow decision should not begin with the longest feature list. It should begin with the type of input your team already owns. If the input is a product photo, portrait or location image, the tool must help turn that material into scenes, pacing, and review notes. If it only produces a flashy sample, the team still has to rebuild the asset by hand.
Why Photo Workflows Break Before Review
The common failure is simple: a still image is animated without protecting product shape, identity or scene logic. A good input-to-video workflow separates idea, structure, visual direction, and approval. The source material tells the system what to say. The brief tells it what to show. The reviewer decides what is safe enough to publish.
Beginners often ask for a complete video in one line. Better teams describe the audience, the first shot, the desired pace, the brand limits, and the final channel. That extra detail does not make the workflow slower. It reduces the number of unusable drafts.
A Working Model From Product Photo, Portrait Or Location Image to Draft Video
A practical model has five parts. First, define the viewer and the job of the clip. Second, extract only the message that belongs in a short video. Third, divide that message into scenes. Fourth, create a first draft with visual and audio direction. Fifth, review the result before changing the prompt again.
This model is useful because it turns photo to video ai into a production habit. The team is not judging the output by taste alone. It checks whether the draft keeps the promise, explains the idea, matches the brand, and gives the viewer a reason to act.
A simple review board can help. Put the input, prompt, chosen format, reviewer notes, and final decision in one place. The next creator can then see which directions worked and which ones failed. This matters when several people make clips from the same campaign, because consistency depends on shared memory.

Seven Steps That Keep the First Output Useful
-
Prepare the input. Collect the product photo, portrait or location image, remove weak claims, and highlight the one message the video must carry. The output should be a short brief, not a messy folder.
-
Choose the viewer. Name the audience, their problem, and the channel. This gives the model context for pacing, tone, and visual density.
-
Break the idea into scenes. Write the opening shot, middle proof point, and final action. Review whether each scene adds new meaning.
-
Add visual constraints. Mention camera style, product accuracy, text limits, aspect ratio, and any brand rules. This protects the draft from random style shifts.
-
Generate one first draft. Do not create ten versions before review. One draft helps the team see the biggest issue clearly.
-
Review against the brief. Check motion, timing, claims, product shape, voice, captions, and final frame. Mark what should change next.
-
Create a controlled variation. Change one major variable at a time, such as hook, pacing, or format. This keeps the workflow measurable.
Manual Production, Single Tools, and AI Workflow Compared
| Approach | Best use | Main risk | Review need |
|---|---|---|---|
| Manual production | High-control campaigns with planned shoots | Slow edits and higher coordination load | Creative director and editor review |
| Free single-purpose tools | Testing a simple idea | Watermarks, limited controls, or weak consistency | Brand and usage review |
| AI-assisted workflow | Turning inputs into draft clips faster | First output may still need refinement | Prompt, scene, claim, and format review |
| Agency workflow | Large launches with many stakeholders | Higher cost and longer feedback loops | Client approval and legal review |
The right choice depends on risk. A social test can start with a light workflow. A paid ad, product demo, or training video needs stricter checks.
Where This Photo Workflow Usually Goes Wrong
The workflow usually breaks at the handoff between source and scene. A product photo, portrait or location image may contain useful information, but a video needs timing, motion, hierarchy, and a clear first frame. If those details are missing, the model guesses.
Another mistake is judging only the best-looking frame. A clip can look polished while the offer is unclear, the narration feels rushed, or the final CTA appears too late. Review the full sequence, not the thumbnail moment.
Best Practices Before You Export or Publish
Keep the first prompt short enough to control but detailed enough to guide. Use plain words for the viewer, goal, style, scene order, and things to avoid. Save the prompt that produced the best draft so the next project does not start from zero.
For learning and team review, a creator can also follow Xelta examples and workflow ideas on the Xelta YouTube channel while building their own internal prompt notes. The point is not to copy every style. It is to learn what information improves the next brief.
Add a small rejection list to the brief. List the styles, claims, transitions, fonts, or visual ideas that should not appear. Negative guidance is useful because it protects the draft from common mistakes the team has already seen.
Where Xelta Fits Into the Photo Workflow
Xelta fits after the team has a clear input and before final editing. A user can bring the product photo, portrait or location image, write a structured prompt, and create a review-ready draft in the video workspace. The AI video generator in Xelta is the core place to shape the clip, test visual direction, and compare draft ideas before publishing.
The work still needs human judgment. Someone must check brand accuracy, product claims, source quality, scene logic, and final channel fit. Xelta can support the production flow, but it should not be treated as an automatic approval system.
What the First Creation Session May Look Like
The first creation session should be narrow. A creators, brands and ecommerce teams user can start with one input, one target platform, and one desired length. The first action would be to turn the source into a structured brief with scenes. The first draft may be close, but it should still be reviewed for pacing, realism, claims, and visual accuracy.
Iteration should focus on one change at a time. Try a stronger opening, a clearer product shot, a shorter middle section, or another aspect ratio. For this topic, the most useful next step is the image-to-video workflow, because it keeps the workflow tied to the actual input type instead of a generic video request.
Publishing Checks for Search, Social, and AI Answers
Before publishing, add a descriptive title, useful file name, clear thumbnail, accurate captions, and a short summary that matches the clip. If the video supports a blog, place it near the section it explains. If it supports a landing page, make sure the message matches the offer on that page.
For LLM visibility, the surrounding page matters. Add plain-language context, avoid vague claims, and answer the core question directly near the top of the page. Search systems and answer engines need clear text around the video, not just a nice export.
Trust Notes, Limits, and Human Review
Do not call a hypothetical example a case study. If the team has no verified performance data, avoid claims about conversion lifts, time saved, or guaranteed rankings. Use transparent process notes instead: source used, review steps, limits, and the final publishing decision.
The main limitation is that weak inputs create weak outputs. A confusing PDF, thin prompt, unclear article, or noisy audio track can still lead to a confusing video. Model choice, visual detail, and review discipline all affect the final result.
Good methodology is boring but useful. Keep the source file, prompt version, reviewer, edit notes, and final export together. That record helps the team explain why a video was approved and prevents the same mistake from returning in the next batch.

Turn the Input Into a Cleaner Video System
Treat photo to video ai as a system for turning inputs into better drafts, not as a shortcut around planning. Start with one clean source, one viewer, one purpose, and one review checklist. Then improve the workflow after the first useful export.
A team that documents its prompts, scene notes, and approval rules will usually move faster than a team that keeps chasing random outputs. The stronger the input, the closer the first draft can get to final.