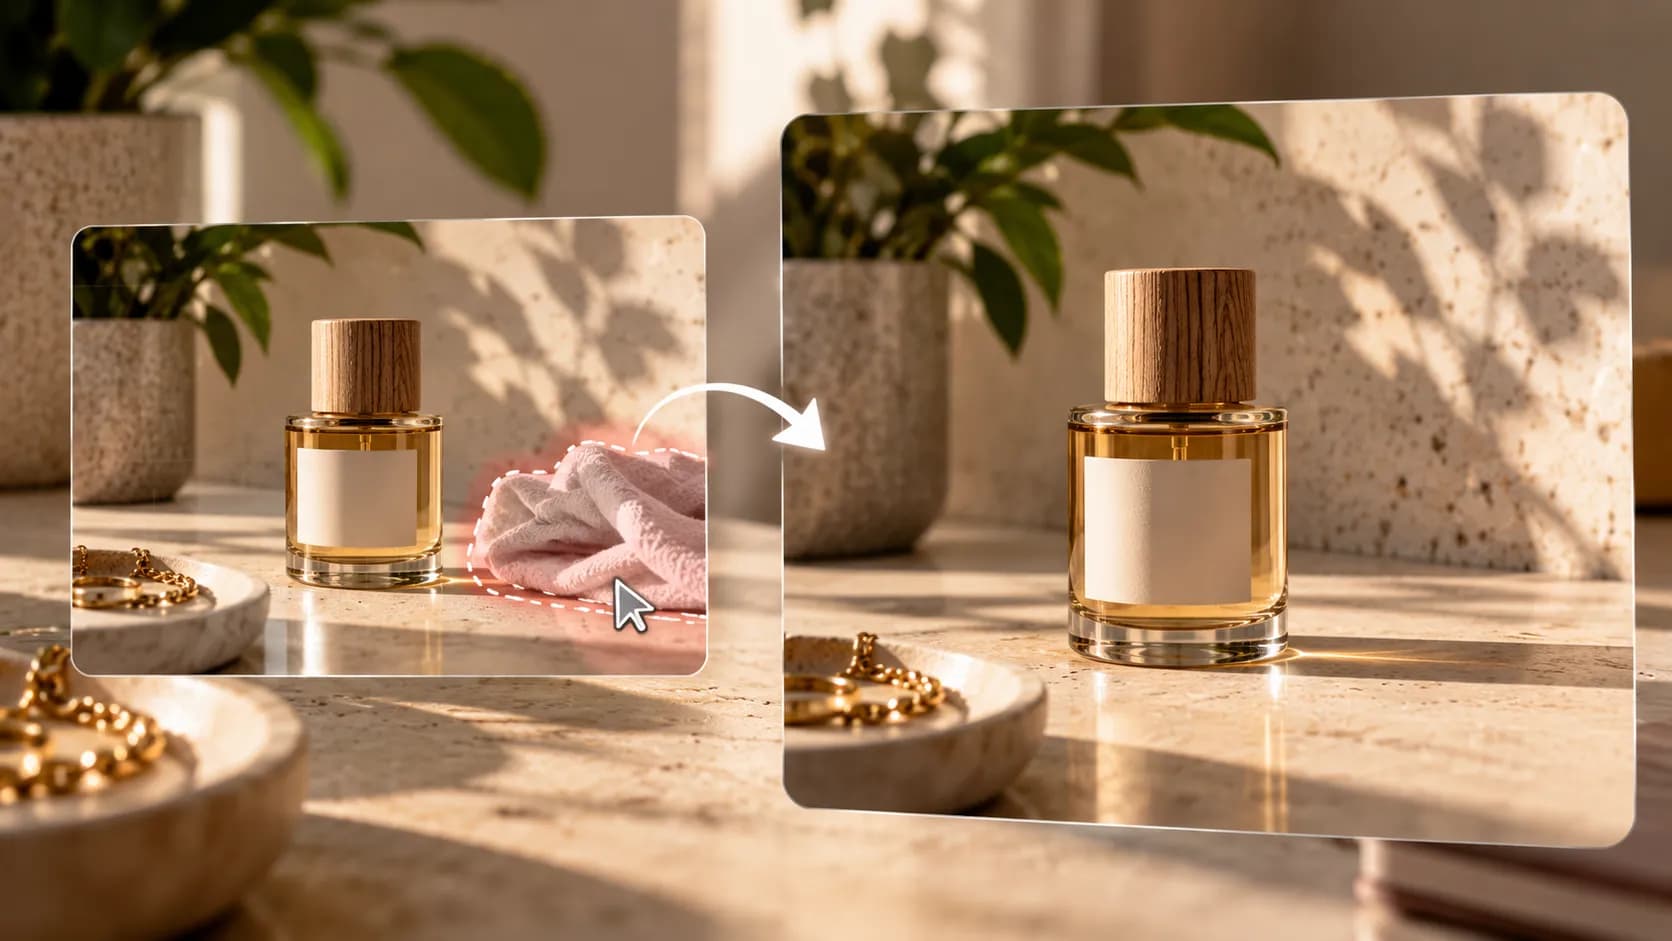








Why Creators Need a Review Checklist for Transparent Background Maker
A cutout can look perfect on a checkerboard and fail the moment it meets a dark banner. Ecommerce teams, freelance creators, marketplace operators, and designers who prepare reusable cutouts often find the defect only after the file is resized or placed in a real layout. For transparent background maker, the Xelta creative workspace fits a disciplined process: define the job, control what may change, and keep final approval human.
Treat transparent background maker as a production method, not a one-off effect. The target is a transparent asset that keeps the subject intact on light, dark, textured, and branded backgrounds. Preserve product silhouette, fine edges, interior gaps, intended shadow treatment, true color, and the approved crop, then test the result in the exact formats where it will be published.
The useful review question is not whether the background is gone. It is whether the retained subject remains complete and believable everywhere it will be placed. That final placement is where clipped fibers, pale halos, and broken shadows become visible. A repeatable transparent background maker workflow keeps the source, edit direction, correction notes, approval, and final use connected.
A Clean Cutout Is a Publishing Decision, Not a Preview
The direct decision is simple: A transparent background maker is useful only when the cutout survives its real destination. Review the edge on contrasting backgrounds, confirm interior holes and translucent details, decide how shadows should behave, and export a clean master at the required size. A repeatable checklist turns a fast preview into a dependable production asset. For transparent background maker, use the AI image generation workspace for controlled exploration, then apply source, destination, and human review.
What a Transparent Background Must Preserve
Start with the environments that expose edge defects. The final asset must preserve product silhouette, fine edges, interior gaps, intended shadow treatment, true color, and the approved crop. Write those items as non-negotiables before any generation or edit begins.
Next, define the approval evidence. Reviewers should score edge accuracy, halo control, fine-detail retention, interior cutouts, shadow logic, color fidelity, and export cleanliness. For transparent background maker, decide what counts as approve, revise, and reject before the first candidate is shown. A checkerboard preview hides many of these problems, so every candidate needs light, dark, and textured proofs.
Build the Checklist Around the Final Placement
Build the checklist backward from the last placement. The input pack should contain the highest-quality source photo, final placement sizes, approved background colors, edge-risk notes, and export requirements. The transparent background maker input pack should also name the approver and the reason the asset exists. A clear destination narrows composition, texture, crop, and export decisions. The expected outputs are a transparent master, a white-background version, a dark-background proof, a small-size proof, and a named approval record. Keep them together with the source and revision note. That transparent background maker record lets another teammate understand, repeat, or challenge the decision without relying on memory.

From Source Photo to Approved PNG in Seven Checks
-
Confirm every destination. For transparent background maker, use the approved input pack to create a job statement; review it before continuing. 2. Inspect the source at full size. For transparent background maker, use the approved input pack to create a source-risk note; review it before continuing. 3. Lock the keep and remove boundaries. For transparent background maker, use the approved input pack to create a protected-area map; review it before continuing. 4. Create a small first pass. For transparent background maker, use the approved input pack to create a candidate set; review it before continuing.
-
Test the difficult edges. For transparent background maker, use the approved input pack to create a defect record; review it before continuing. 6. Prepare final proofs. For transparent background maker, use the approved input pack to create a approved proof pack; review it before continuing. 7. Record approval and export. For transparent background maker, use the approved input pack to create a handoff record; review it before continuing.
Test the route on a skincare bottle photographed on a gray sweep that must appear on a marketplace listing, a black launch banner, and a mobile carousel. Keep one major variable stable, record the changed instruction, and reject any candidate that damages product silhouette, fine edges, interior gaps, intended shadow treatment, true color, and the approved crop. At the last gate, score edge accuracy, halo control, fine-detail retention, interior cutouts, shadow logic, color fidelity, and export cleanliness and write down the remaining limitation before export.
Halo, Hair, Glass and Shadow Failures to Catch
Transparent assets fail in the details viewers notice only after placement. Common failures include white or dark halos, clipped hair or fibers, missing holes, broken glass edges, floating shadows, jagged curves, and accidental transparency inside the subject. Each transparent background maker defect should trigger a clear action: local repair, a changed boundary, a more conservative route, or source rejection.
Best practice is different from correction. Place every candidate on at least three contrasting backgrounds and zoom into the highest-risk edge. Update the transparent background maker checklist so that failure is easier to catch on the next assignment. The transparent background maker process improves when reviewers turn a defect into a reusable rule.
Manual Clipping, One-Click Removal or Hybrid Cleanup
There are three sensible routes for most cutout work: manual clipping paths, one-click background removal, and a hybrid process with automated separation plus targeted cleanup. Compare the transparent background maker routes by correction cost, control, source quality, destination risk, and finishing skill.
Use the lowest-risk method that meets the brief. Automation adds value to transparent background maker when the task is bounded and repeatable. For transparent background maker, manual work remains stronger around exact text, delicate identity details, strict geometry, or missing evidence. A new source may cost less than repairing a transparent background maker candidate that is wrong at its core.
Where Xelta Fits in High-Volume Cutout Work
Xelta fits after source selection and before final cutout approval. A user can begin with the highest-quality source photo, final placement sizes, approved background colors, edge-risk notes, and export requirements and create a small comparison that can be scored against edge accuracy, halo control, fine-detail retention, interior cutouts, shadow logic, color fidelity, and export cleanliness. The first draft is a candidate, not an automatic final asset.
The platform can reduce repetitive variation and proof creation for teams processing repeat product, portrait, or catalog cutouts that must be approved by more than one person. Human reviewers still own product silhouette, fine edges, interior gaps, intended shadow treatment, true color, and the approved crop, rights, claims, realism, accessibility, and the publishing decision.

From Product Photo to Marketplace and Social Variants
Input: the highest-quality source photo, final placement sizes, approved background colors, edge-risk notes, and export requirements. Action: separate the subject and prepare contrasting proof backgrounds. First draft: a transparent master with light and dark proofs. Iteration: refine the mask, restore fine detail, or change shadow treatment. Human review: edges, interior holes, halos, shadows, and transparency. Final use: a transparent master, a white-background version, a dark-background proof, a small-size proof, and a named approval record.
The repetitive advantage is faster comparison and planned versioning. The learning curve is source selection and boundary control. Users should expect low-resolution sources, motion blur, translucent materials, soft fur, reflective edges, and shadows that overlap the subject can require several passes or manual repair. The Xelta creation guidance can support broader learning, but the team must still apply its own brief and approval rules.
Document the Edge Decisions Reviewers Can Repeat
Trust comes from a review trail that exposes the difficult edge decisions. Save the transparent background maker source, brief, changed variable, candidate, reviewer, decision, and known limitation. That transparent background maker record supports editorial accountability without implying direct testing of every product condition. The guidance is written for ecommerce teams, freelance creators, marketplace operators, and designers who prepare reusable cutouts and is based on common production controls: bounded inputs, comparable outputs, destination proofs, and human approval.
Use accurate alt text that describes the subject and relevant transparency outcome without mentioning the tool unless it matters to the page. Keep factual and legal claims outside the transparent background maker asset unless they are approved separately. No transparent background maker workflow can verify rights, compliance, product accuracy, or context by itself.
A Preflight That Protects Every Export
Turn the checklist into a short export preflight. The passing check is: source verified; protected details intact; difficult edges checked; contrast proofs passed; export confirmed; owner named. Record each transparent background maker failure reason so the next brief can improve.
Track one transparent background maker measure, such as repair minutes, revision rounds, approval delay, or reuse. Then test a skincare bottle photographed on a gray sweep that must appear on a marketplace listing, a black launch banner, and a mobile carousel at 100 percent, at final size, and inside the real layout before the transparent background maker workflow is expanded.
Publish Only the Cutouts That Survive Real Backgrounds
A transparent cutout earns trust when it works on every approved background, not when it merely looks clean in the editor. Start the transparent background maker rollout with one real assignment and complete the full approval cycle before scaling. Keep the transparent background maker source, rejected candidates, repair notes, and decision together so the next project begins with evidence.
For a controlled next step, use the background removal workflow with a narrow brief and a named reviewer. The goal is not to remove every manual decision. The aim of transparent background maker is easier repeated production while the final asset remains accurate, useful, and channel-ready.