- AI face swap tools can replace a person's face in images or videos, making them useful for internal casting concepts, creative previews, and marketing mockups.
- Before editing, clearly define the purpose and obtain permission to use both the original media and the person's likeness for the intended use. Internal approval does not automatically cover public advertising or other markets.
- Check the AI tool's face data and privacy policy to understand how facial data is stored and how long it is retained.
- Choose a clear reference image with a similar face angle and lighting to the original footage. Keep the original asset and document which elements must remain unchanged.
- Start with one image or a short video clip that includes typical head movements or objects passing in front of the face. Change only one element at a time when testing.
- Review the original, reference, and edited versions side by side. Check facial edges, lighting, skin texture, flickering, drifting features, audio synchronization, product details, and final captions.
- Watch the entire video at normal speed and with sound. A convincing still frame does not guarantee that the face swap will remain consistent throughout the clip.
- Face swapping and full character replacement are different workflows. Replacing an entire person also requires checking clothing, body movement, hand positions, and interaction with objects.
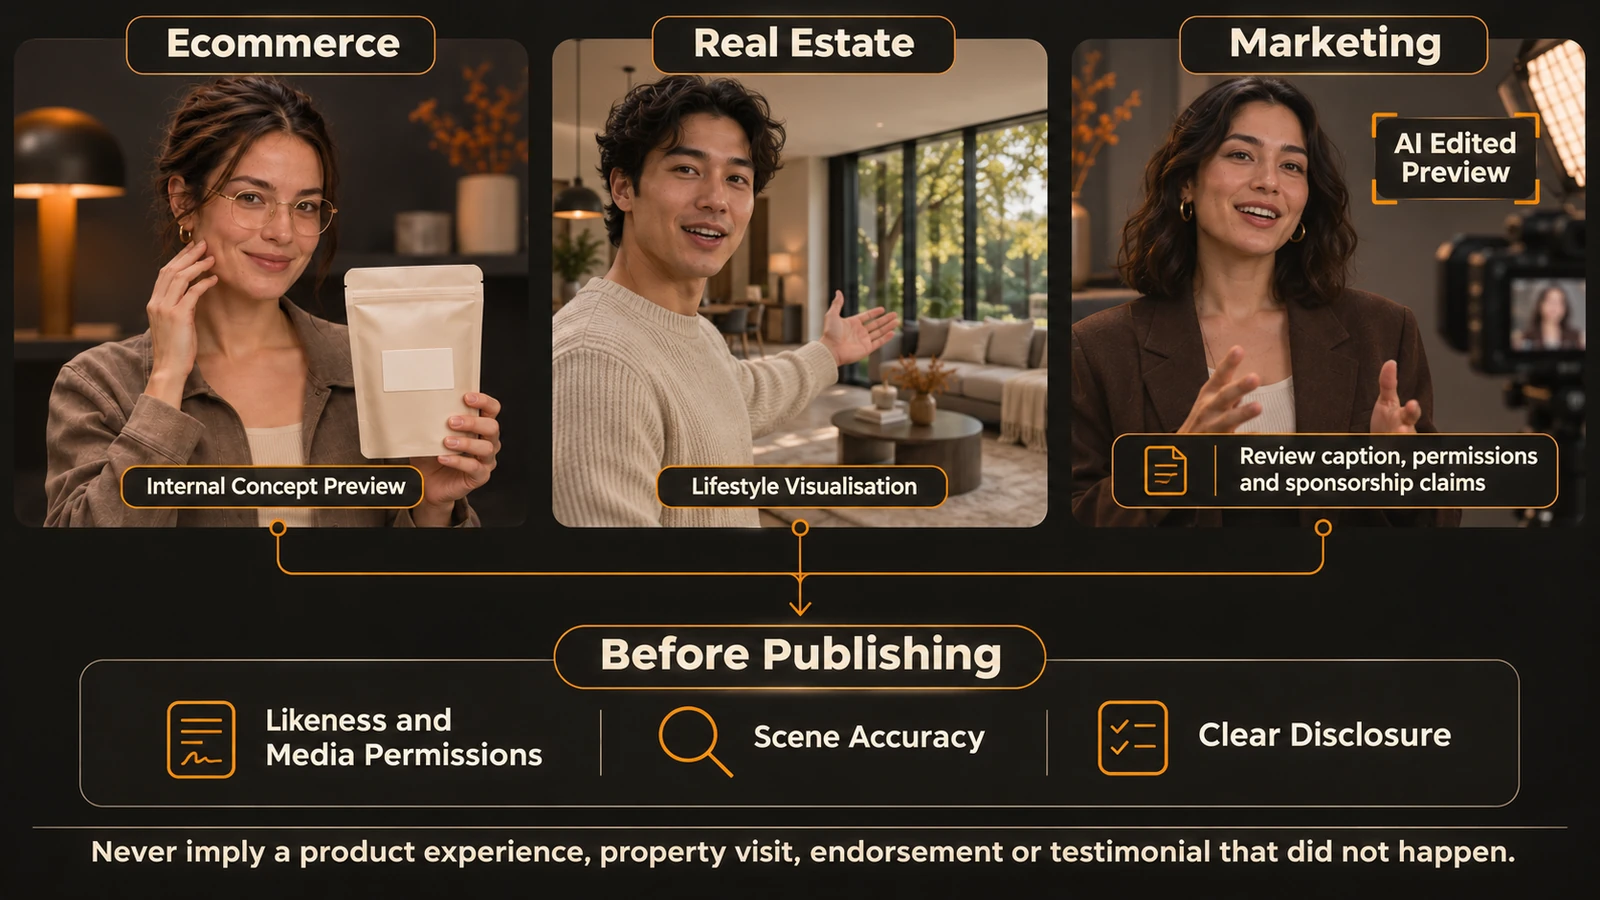
- For ecommerce, do not present an AI face swap as proof that someone genuinely used a product. For real estate, do not portray a fictional person or altered room as an actual property photograph.
- For marketing and sponsored content, use appropriate AI-editing and sponsorship disclosures. Labelling an image does not make a misleading testimonial or endorsement acceptable.
- Maintain an approval record containing the original media, permissions, editing notes, approved export, caption, and intended usage. For videos, include timestamps for requested changes.
- Reshoot or keep the asset internal when it needs to prove that someone actually used a product, visited a property, or provided a testimonial. A face swap cannot establish that experience.
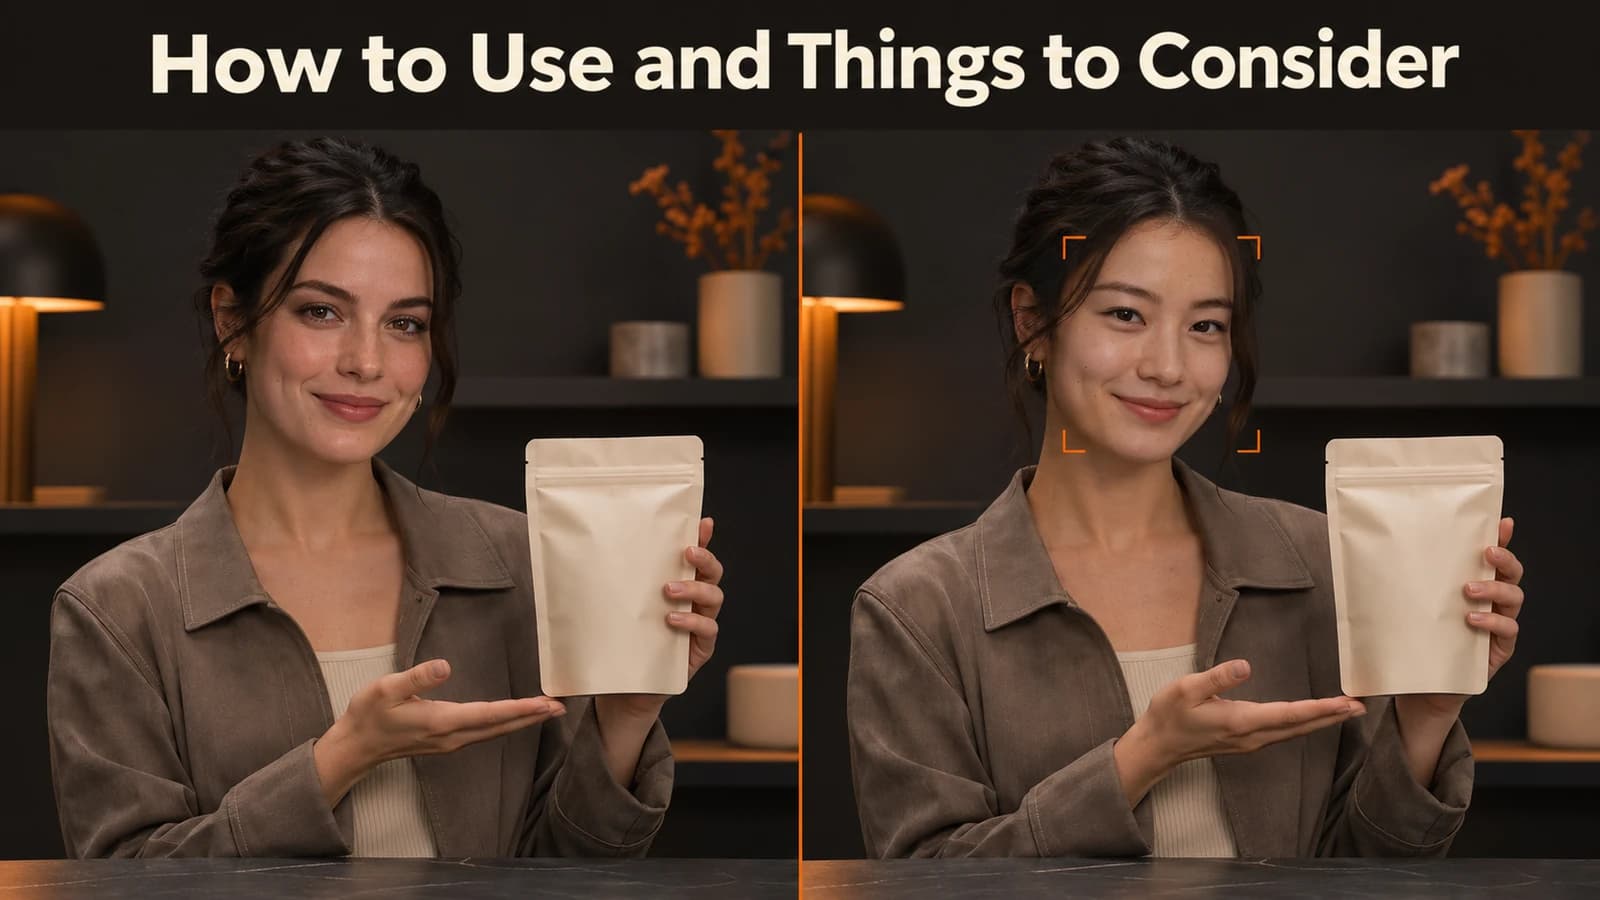
How to use and Things to Consider
You have your product demo shot at the right angle with the packaging clearly visible. However, you may want to see what it would look like if a different presenter was used before you book another shoot. With AI face swap online you can test out different people to cast. A realistic edit can give the illusion that the new person has used the product.
Before creating your asset decide what you want to show. You can create an internal mockup to help your team decide on a direction. If it is for public use then you will need permission to use it for that specific purpose. The product should be accurately shown and the copy shouldn’t suggest something that didn’t happen.
Use an online face swap tool (AI) to replace a face in your image/video. Ensure you have permission to do this. Try with one image or short clip, and ensure that expressions on faces are correct, movement looks right and the final caption is correct. Only publish if the editing does not cause confusion.
Step 1: Define the Edit and Check Permissions
Write a sentence outlining what you are going to do. Example: Create an internal casting demo using this. The presenter's face will be changed but the product, hands and packaging will stay the same. This can help the reviewer to confirm that the face has been left as required.
Check you are allowed to use the original media and face in your edit and its proposed use. You may not be allowed to use it in a paid for advert, public facing or in a different market if you have only been given permission to use it in an internal deck. If you are unsure then don’t upload. Please also check the platform’s face data policy so you know what data they will be storing and for how long.
Step 2: Prepare the Reference and Run One Test
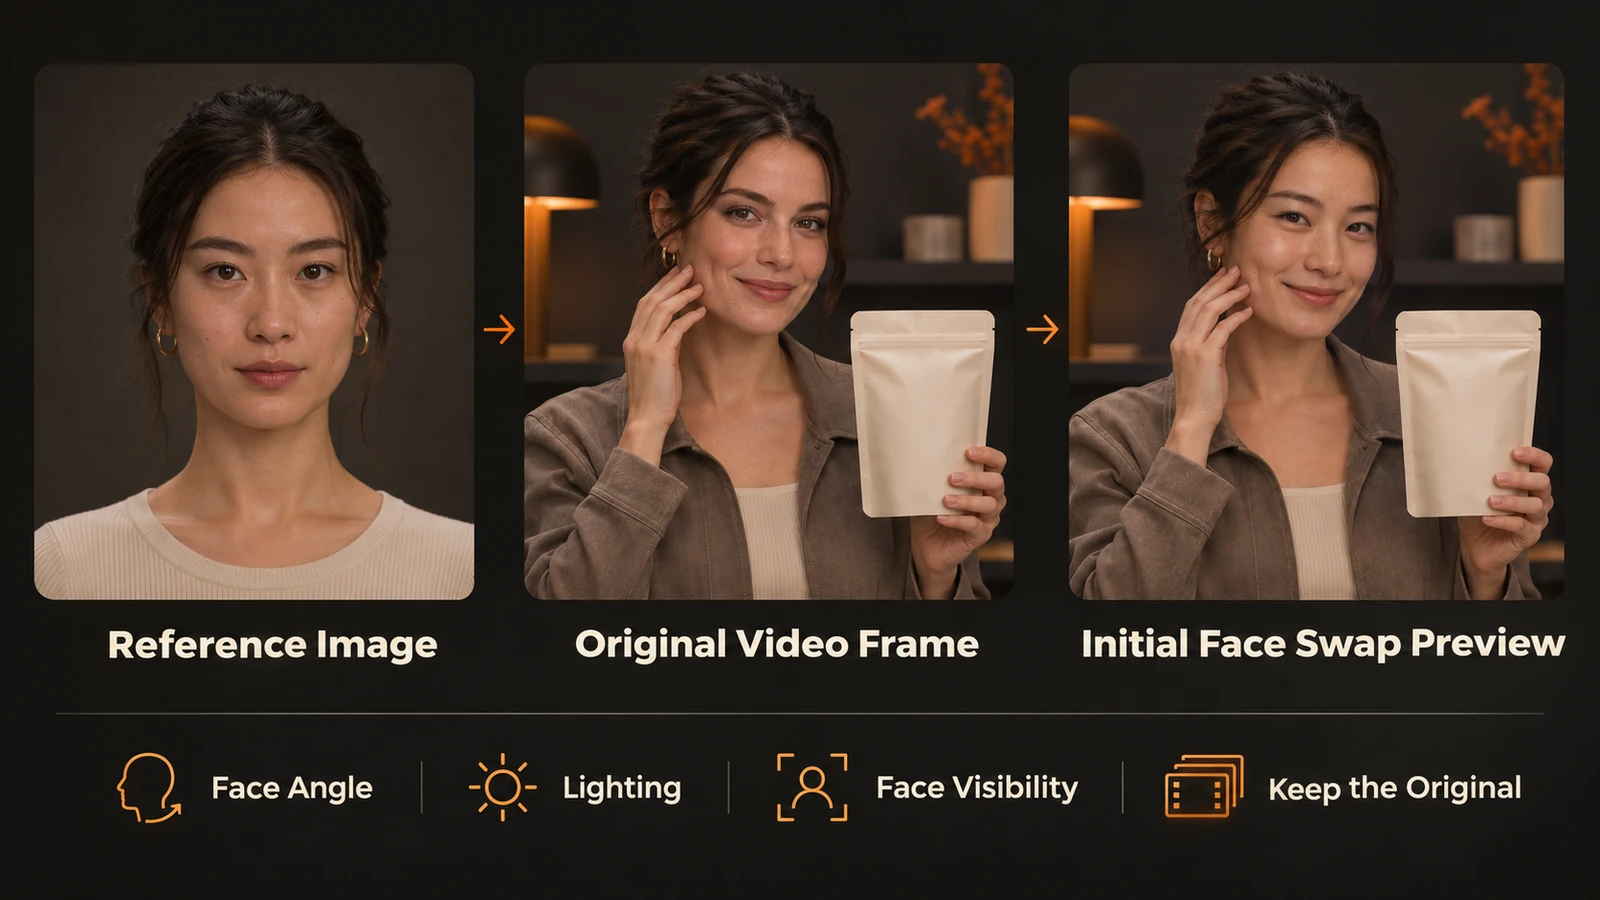
Choose a clear reference. Use a similar pose and light source. A full face portrait may not be the best choice if your clip is mostly sideways on. The more shadow, coloured glasses and/or hair covering parts of the face, the harder it will be to determine if something has gone wrong with the reference or editing.
Keep the original file and document what needs to stay the same. This might be the text, product colour or presenter hold for an ecommerce example. Or it could be the fixtures and overall layout for a property visual. Provide the reviewer with the original.
For videos, select the face swap function and select Face Swap. Check the upload labels. Upload your reference image and video clip. Use a section of video that has a typical turn of the head or hand across the face. You won’t know how the edit will look throughout the clip if you use the easiest frame. If you get a bad result, only change one element at a time so you know what has helped.
Step 3: Review the Edit at Full Size and in Context
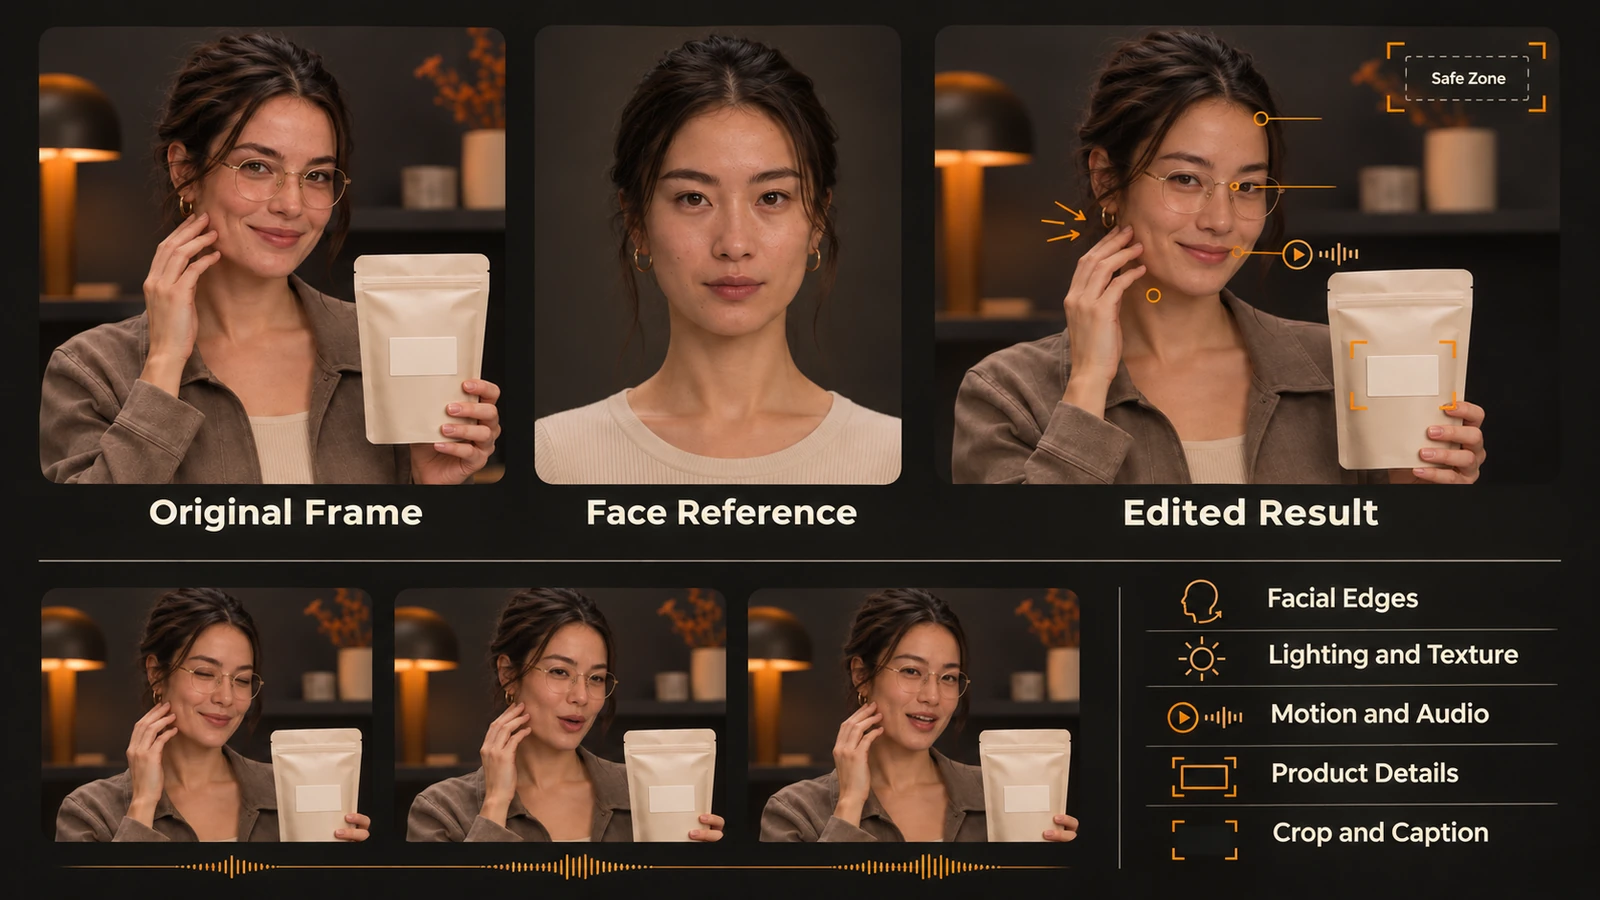
Compare the original, reference, and edit side by side. For video, watch at normal speed first, then replay moments when the subject turns or an object passes in front of the face. A clean still frame can hide flicker, a drifting jawline, or a mismatch between the mouth and the audio.
| Check | What to look for | What to do if it fails |
|---|---|---|
| Facial edges | Halos around the jaw, ears, hairline, or glasses | Try a reference with a closer angle or reject the edit. |
| Lighting and texture | Shadows that disagree with the scene or skin that looks unusually smooth | Try a better-lit reference and compare again. |
| Motion and audio | Flicker, slipping features, or a voice that appears to belong to the substituted person | Review the full clip with sound. Don’t publish if it implies the person said something they didn’t. |
| Product or property details | Changes to labels, hands, clothing, fixtures, or room features | Check against the original and reject unexplained changes. |
| Final crop and caption | A missing disclosure or wording that implies a real appearance or endorsement | Revise the crop or copy, then review them together. |
If the brief calls for changing the whole person rather than just the face, treat character replacement as a separate workflow. Review wardrobe, body movement, and contact with objects. A face that looks right doesn’t make the shot usable if the presenter’s fingers no longer hold the product correctly.
Step 4: Decide Whether the Asset Is Ready to Publish
Ecommerce: Use an internal concept. Check the product is displayed and works as described for public assets. If edit suggests the person they are using is a user of the product, use genuine demo footage.
Real Estate: Use an approved lifestyle concept to show how a space could be used. Do not represent this asset as a genuine photo of someone living/ buying/ working in the property. If the edit will change any room details, use an accurate property photo for the listing.
Marketing: Review the asset along with your heading, caption and audio. If the concept has clear labelling it can become misleading if used within a first person testimonial. Ensure you’ve reviewed the disclosure rules of that particular channel. Don’t rely on the labelling of the asset to make a misleading claim true.
Note down that the asset has been approved to be used in [name]. If you’re editing it, state exactly what needs changing. If it's a video, add the time stamp. Keep the approved export, caption and permission together so when someone goes to pull the assets they don’t think they can use an internal concept.
Conclusion
Begin with one approved asset and have someone review the final output. Ask them who they think is featured in this asset and what they actually did. Then compare their interpretation of the asset with the source and permissions. If it goes beyond what can be verified then edit the asset, keep it internal or reshoot. For further production ideas follow AI workflow updates.
Frequently asked questions