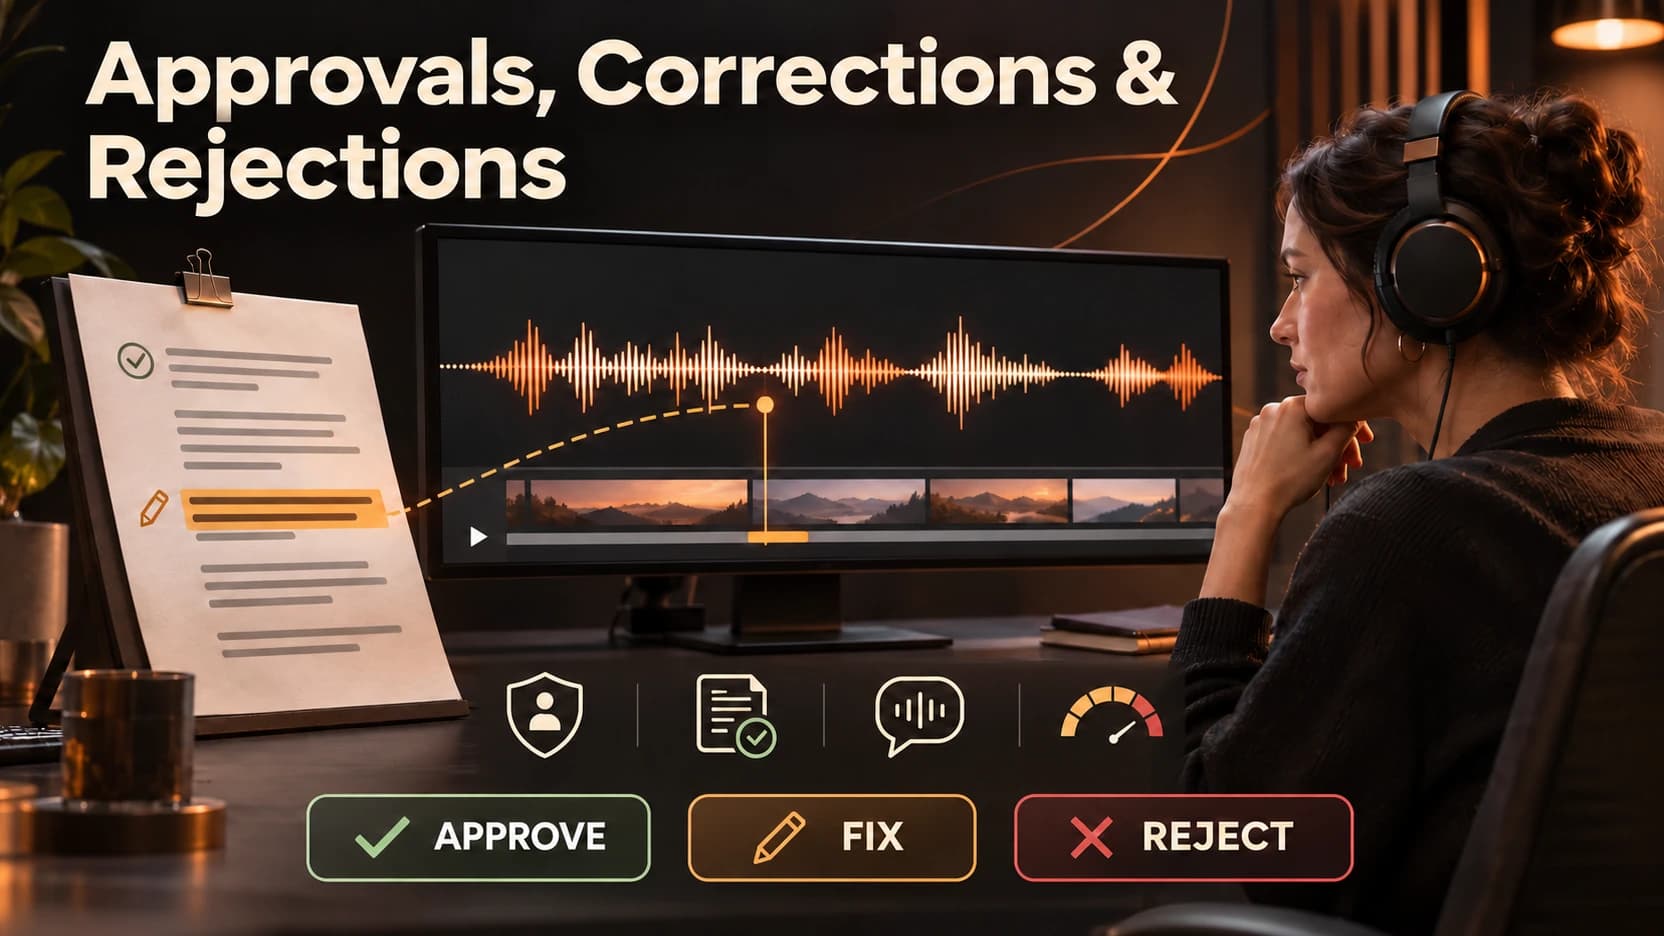
- AI YouTube video generators can help create supporting visuals, B-roll, introductions, transitions, and example scenes, but factual accuracy must be maintained throughout the video.
- Start with a verifiable script that clearly defines what viewers should learn. Mark important facts, figures, instructions, and examples for accuracy checks.
- Create a rough voiceover before generating visuals. This helps establish the video duration, shot timing, pauses, and time viewers need to read on-screen information.
- Convert the narration into a shot plan that connects each spoken section with suitable visuals, custom graphics, screenshots, or recorded demonstrations.
- Use AI-generated B-roll for illustrative scenes, but rely on manually created graphics or genuine screen recordings when showing specific figures, calculations, instructions, or technical details.
- Test one generated clip in its intended format before producing the remaining scenes. Check camera movement, text space, visual relevance, and consistency with the narration.
- Build the final edit around the voiceover, ensuring transitions, graphics, captions, and demonstrations remain properly timed and easy to understand.
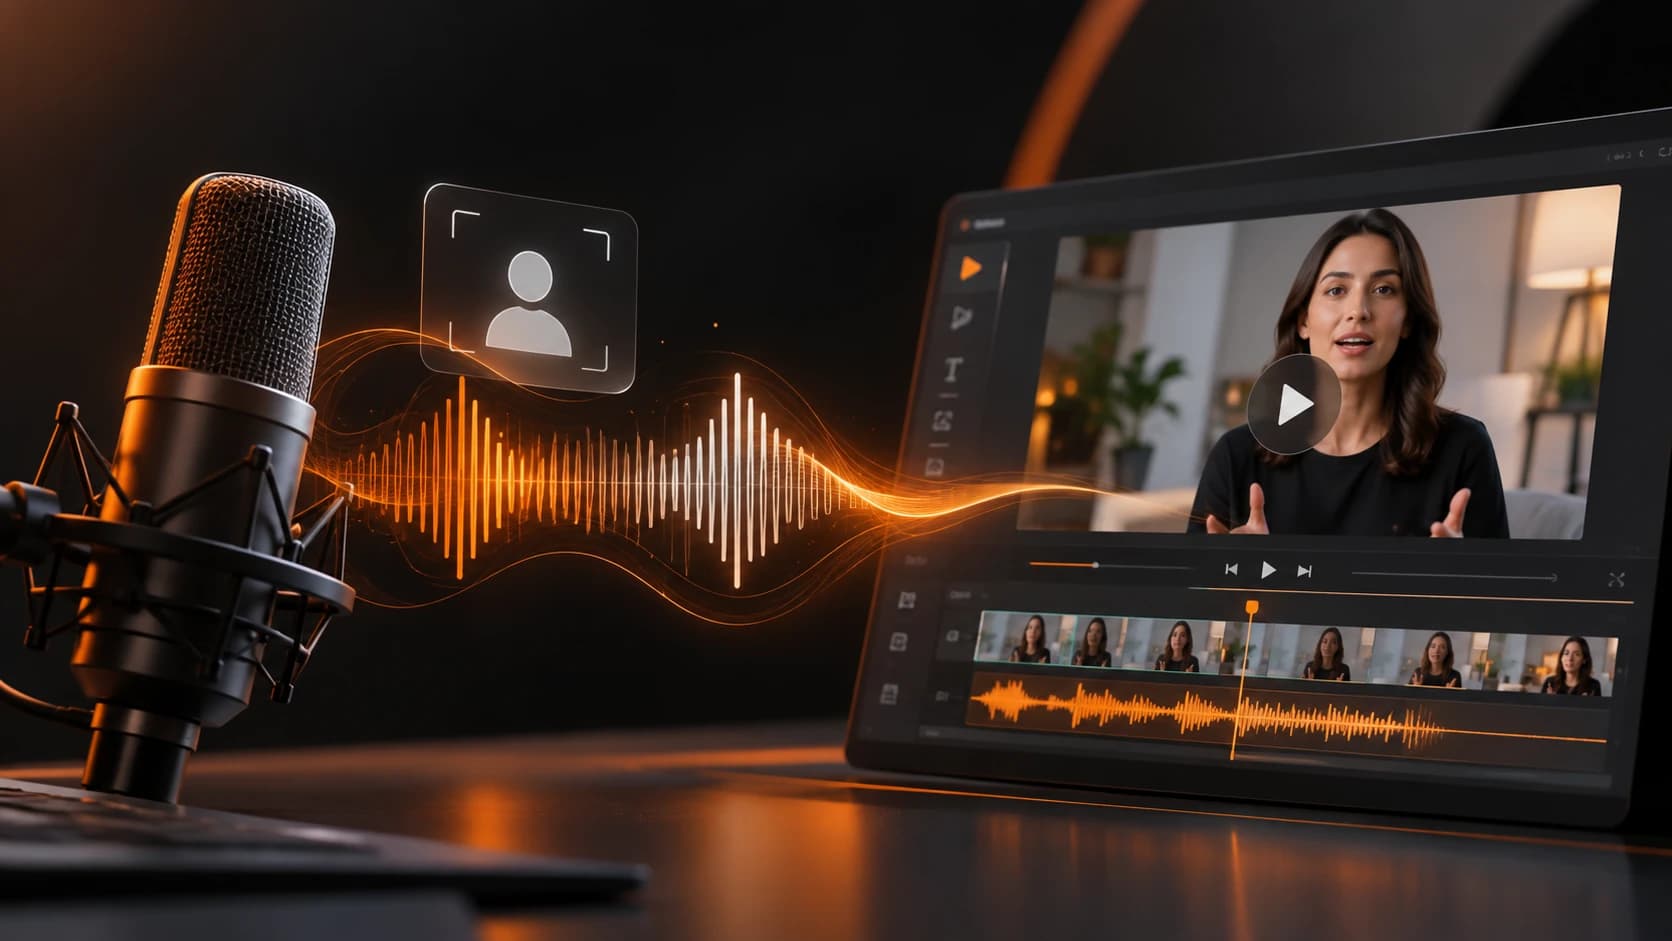
- Use AI audio enhancement when necessary, but compare the original and processed recordings to identify robotic, distorted, or unclear speech.
- Review the exported video carefully for incorrect figures, mismatched visuals, fabricated text, unreadable charts, inaccurate captions, and inconsistencies between narration and demonstrations.
- Check YouTube's AI disclosure requirements. Realistic AI-generated scenes or meaningfully altered content that must be declared should use the appropriate AI disclosure setting in YouTube Studio.
- AI assisted videos must still provide original value and satisfy YouTube monetisation guidelines. Generic, repetitive, or mass-produced content may not qualify for monetisation.
- Obtain appropriate permissions for audio, video, voices, and other media used in production.
- The best workflow combines verified narration, accurate graphics, AI-generated supporting footage, genuine demonstrations, and thorough final review to create useful and trustworthy YouTube content.
Introduction
If you have made a 5 minute YouTube explanation and have gaps in your video, you can use an AI video generator to make these. You can get an intro, a few scene changes and an example visual. However, if you make a spreadsheet with incorrect values in it, this may look convincing until someone decides to pause the video.
Before generating, it will be easier to write prompts, find clips and review your final video if you split scenes into those that just need to represent an idea, and those that need to be accurate.
Generate the video using the AI tool. Ensure that the script is correct, and use the recorded voice over. Create relevant visual elements. Where demonstration is necessary, ensure that graphics/visuals are accurate, or real media is used. Edit video together, and ensure any captions, statements and any disclaimers required on YouTube are included.
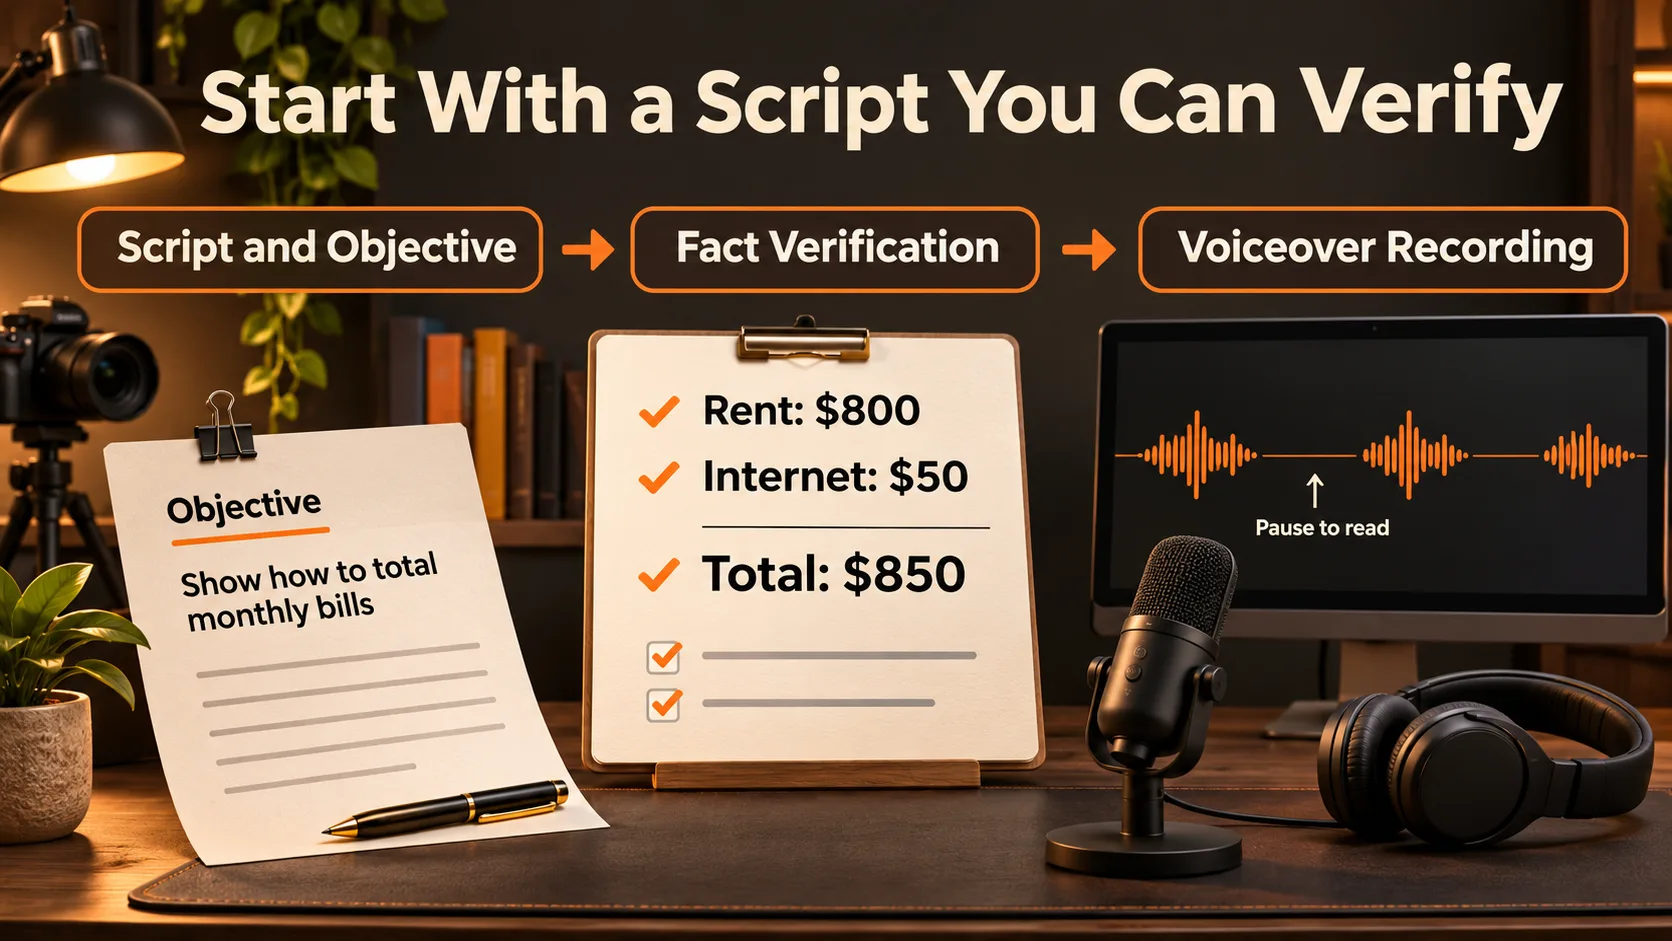
Start With a Script You Can Verify
Include a short summary sentence of what people will be able to do after watching your video. For example, in a budgeting video: "Identify fixed and variable costs within a budget". This summary sentence can help you stay on topic and determine what examples to include.
Numbered sentences, statements of fact and instructions should be marked. Make sure they are accurate. If you are using an example budget make sure you mark it and double check the figures in your audio narration match those on screen.
Narrate your video so you have a rough draft. Try to narrate at the speed you want it to play at. Include any pauses to allow the viewer time to read. You should get a better idea of how long a shot should be from listening to the narration.
Turn the Narration Into a Shot Plan
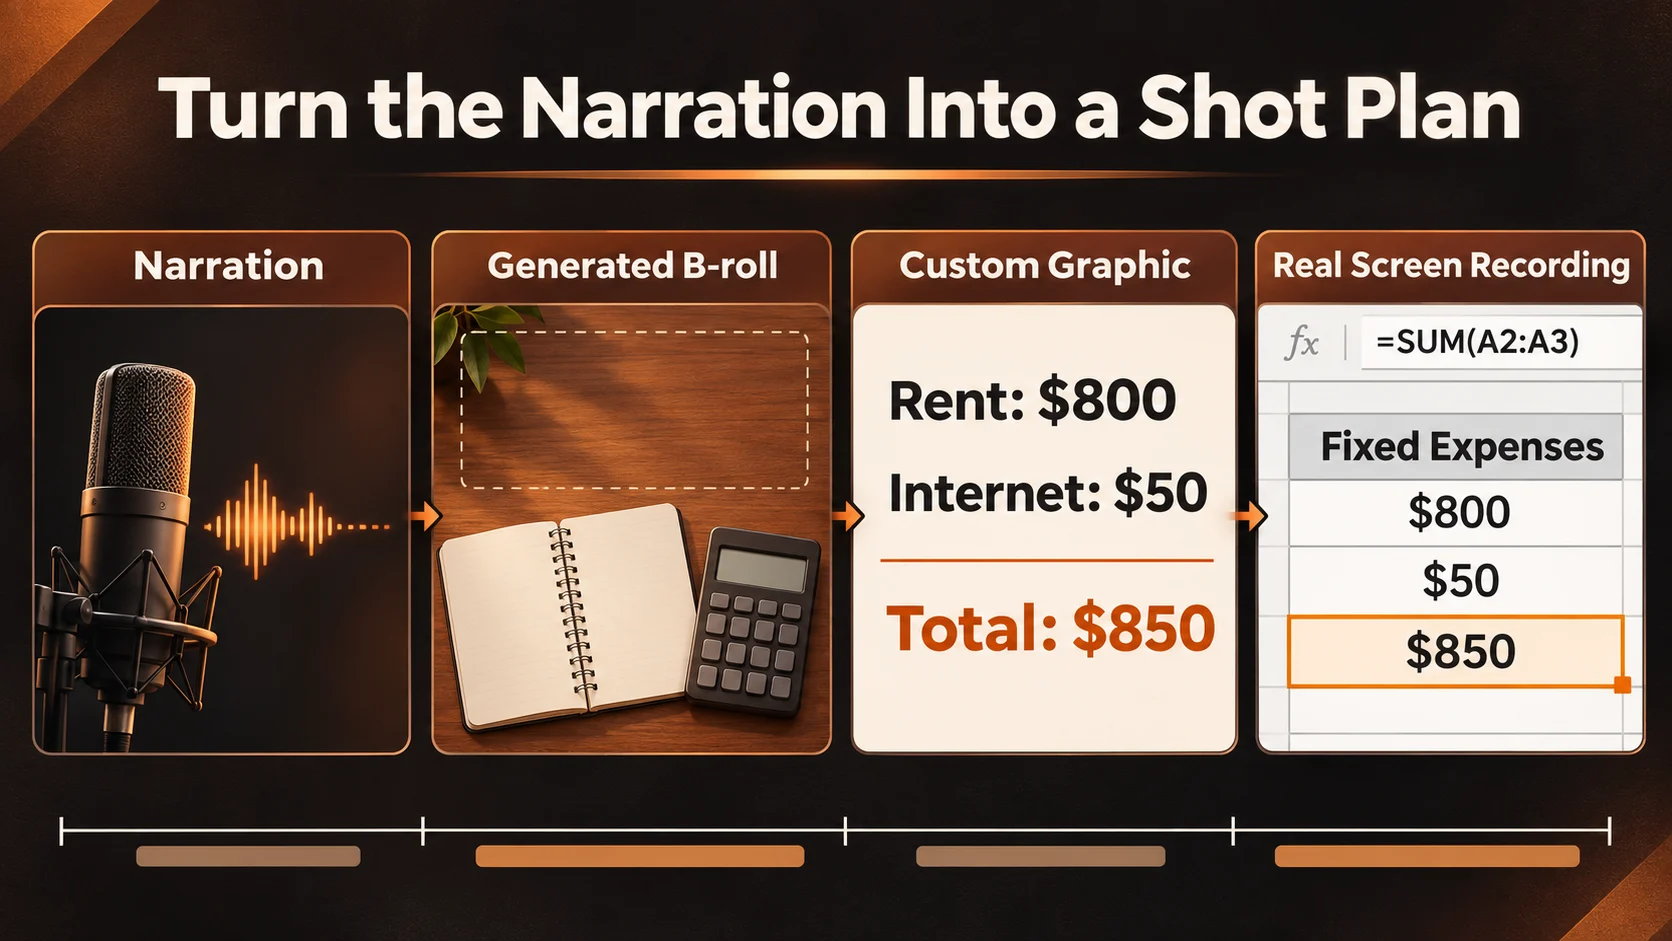
To assist with the narrative, include some B-roll footage. To be able to illustrate specific information (text/data), custom graphics should be included. Screenshots can also be used to illustrate examples of using the tools.
As an example, this is what could be in the example section of your budgeting video.
| Narration beat | Visual to use | What to check |
|---|---|---|
| “Start by listing the bills you pay regularly.” | A short generated shot of a notebook on a desk | No readable account details or invented bills distract from the point. |
| “In this example, rent is $800 and internet is $50.” | A manually built graphic with those two amounts | The graphic matches the narration and stays on screen long enough to read. |
| “Add the two amounts in the fixed expenses column.” | A recording of the example spreadsheet | The formula points to the right cells and the total reads $850. |
| “Next, look at spending that changes month to month.” | A simple section title or a short visual transition | The transition signals a new topic without covering the first instruction. |
The AI video generator can create supporting clips from text prompts or reference images. Test one shot in the intended frame before generating the rest. If it needs to sit behind a title, check that the motion leaves space for the text throughout the clip, not just in the first frame.
Text input: A plain notebook and calculator are placed on a wooden surface. The lighting is gentle. The camera slowly zooms in. The props are on the right hand side of the image and there is open space on the left. There are no legible words, numbers or logos.
Build the Edit Around the Voiceover
Match the timings to the narration. Use transition points between different topics and examples. Show appropriate graphics for the narration. Make sure to show graphics for a sufficient amount of time to allow the information to be read, and if necessary, shorten transitions.
If background noise is making it difficult to understand the narration, try using AI audio enhancer to improve clarity. Play both the cleaned version and original version back through your headphones and phone speakers and compare them. If any words sound choppy or robotic after cleaning, reduce the intensity of audio cleaning, or re-record the section where this has occurred.
Assemble using an AI video stitcher. If the timing of a shot is too short, rather than stretching a generated shot unnaturally, try showing a correct graphic or switching to the next example. Once captions have been added based on the final narration, double check all names, figures and technical terms.
Check the Export and Upload Settings
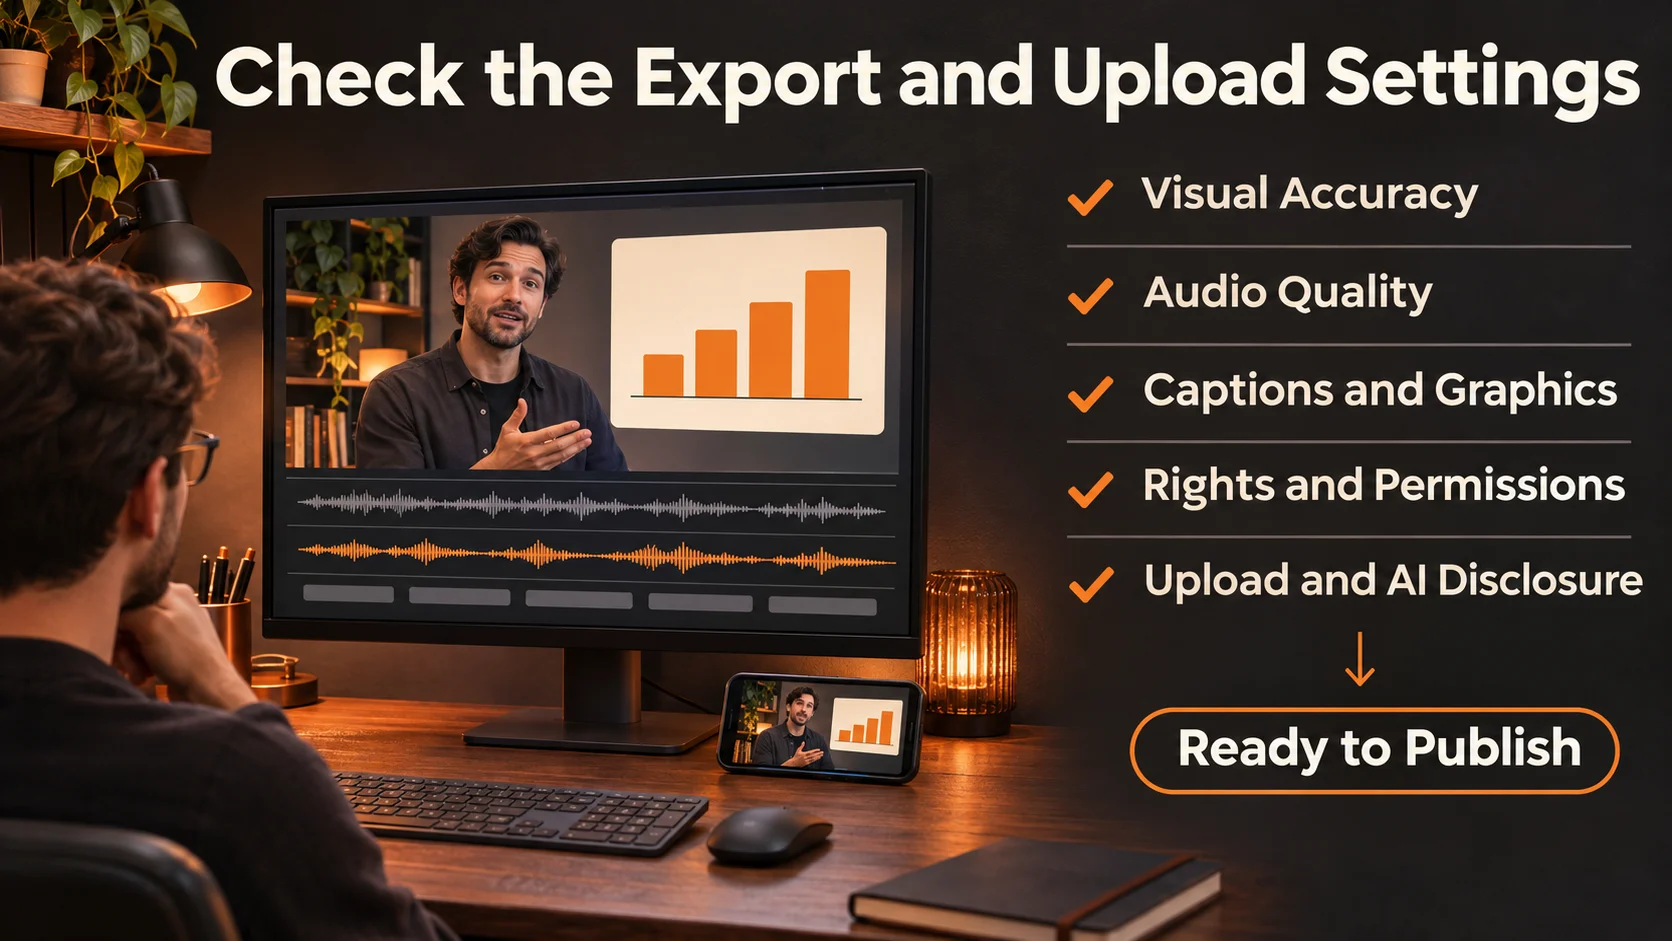
Play through the video once. Take note of any inconsistencies between the visuals and narration, speed issues, or elements which are difficult to read in the charts. Re-watch these areas. In the example, pause at the point of the total to make sure the number shown in the spreadsheet matches the narration and captions.
Make sure you have permission for any audio, video, voices and other media. If your video contains realistic content created using AI technologies (such as realistic scenes that did not actually happen) or meaningfully modified content that must be declared, use the AI use setting in YouTube Studio. However, if AI was only used to help write an outline for your script, it does not need to be declared.
Monetisation checks: Don't create mass-produced repetitive content. If the video is very generic, with little original value, you may get flagged. Even if the narration or background has been changed, using generic templates won't add much value. Make sure this video has specific value, for example by providing an example, original explanation, or recording.
Conclusion
Create 1 short clip. Match a confirmed voiceover, generated image and live demo. Play it on your phone. If people can understand the example without stopping and without having to guess which is the real one, do the rest of the sections in this way. For more ideas on how to make your video, keep an eye out for future updates on AI videos.
Frequently asked questions