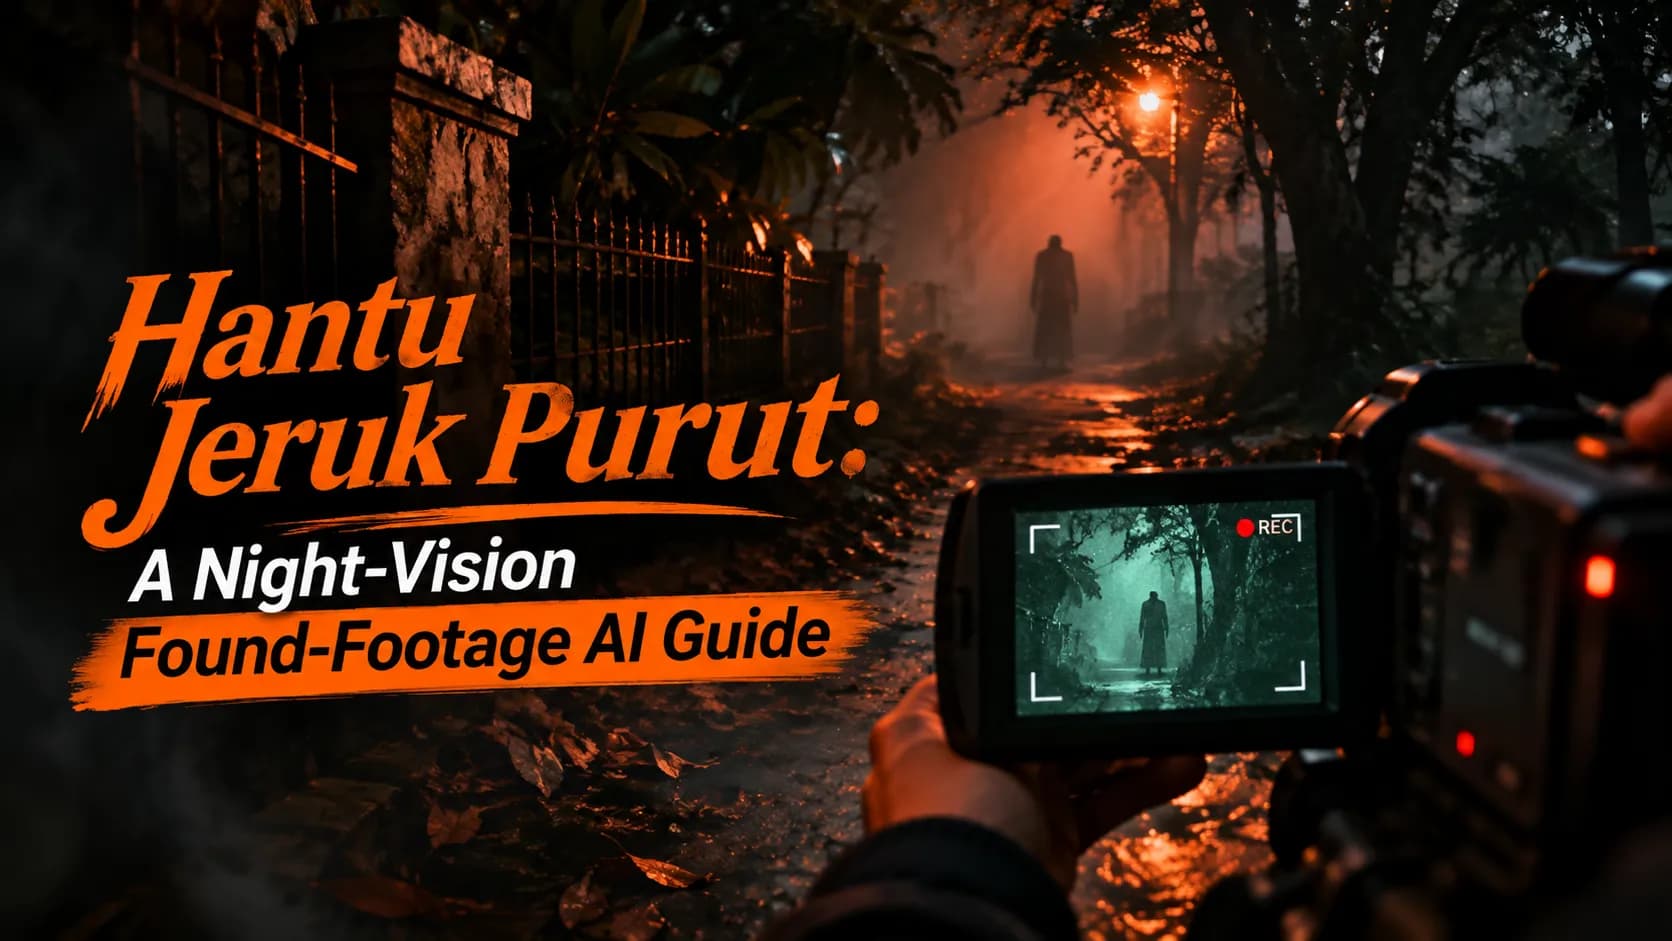
- Hantu Jeruk Purut is a Jakarta urban legend, not a verified haunting.
- Use one handheld POV and give every camera move a reason.
- Build suspense in five beats: setup, disturbance, silhouette, recheck, and empty frame.
- Create a night-vision look with bright foreground details, grainy shadows, and limited visibility.
- Keep the setting and lighting consistent across AI-generated shots.
- Use off-screen sounds to suggest what the camera can’t see.
- Stage the scene on a fictional set and clearly label the footage as fiction.
- 1.Introduction
- 2.Quick Answer
- 3.The Jakarta Legend Behind Hantu Jeruk Purut
- 4.An Original Premise: The Last Camera Test
- 5.A Six-Beat Night-Vision Found-Footage Storyboard
- 6.Make Night Vision Look Like a Recording System
- 7.AI Prompts: Path & Ghost
- 8.Creating Consistent Shots in Xelta
- 9.Editing & Audio: Selling the Unseen
- 10.Common Mistakes
- 11.Final Thoughts
Introduction
The camera focuses on a still figure. The camera zooms in, out of focus, and goes backwards. When the image stabilises there is no figure but there are footsteps.
This is a great idea for an original found footage horror piece. This is set on a fictional set. This tutorial will show you how to plan your night vision shots, use realistic camera movement, create AI footage and put together a 60 second piece.
Hantu Jeruk Purut is a Jakarta urban legend often linked to a headless pastor near Jeruk Purut Cemetery. To create a fictional found footage scene the camera should only have one night vision camera. The figure should be blurry and unclear. Include realistic imperfections and use off screen sounds to build tension. Record or create a setup.
The Jakarta Legend Behind Hantu Jeruk Purut
This is a real cemetery in South Jakarta. The urban legend tells of a kepala buntung (headless) pastor. Sometimes he is said to carry his head along with him and a black dog. There are many variations of why he is like this.
The story became popular and a 2010 article in The Jakarta Post spoke to cemetery workers who denied they had ever encountered the ghost. This shows how urban legends can become well known but there is no proof that the supernatural events actually happened.
The story was also used in the popular Indonesian horror film Hantu Jeruk Purut (2006). However this has created its own characters and story. To create an original piece take inspiration from the general question of the story. What is the blurry figure?
Treat the Cemetery as a Real Place
A cemetery should never be used as a horror setting. Families go to grieve and religion should be respected. Throughout this exercise a controlled fictional path will be used with no identifiable graves or signs. Never make it look like the AI has seen a real ghost.
An Original Premise: The Last Camera Test
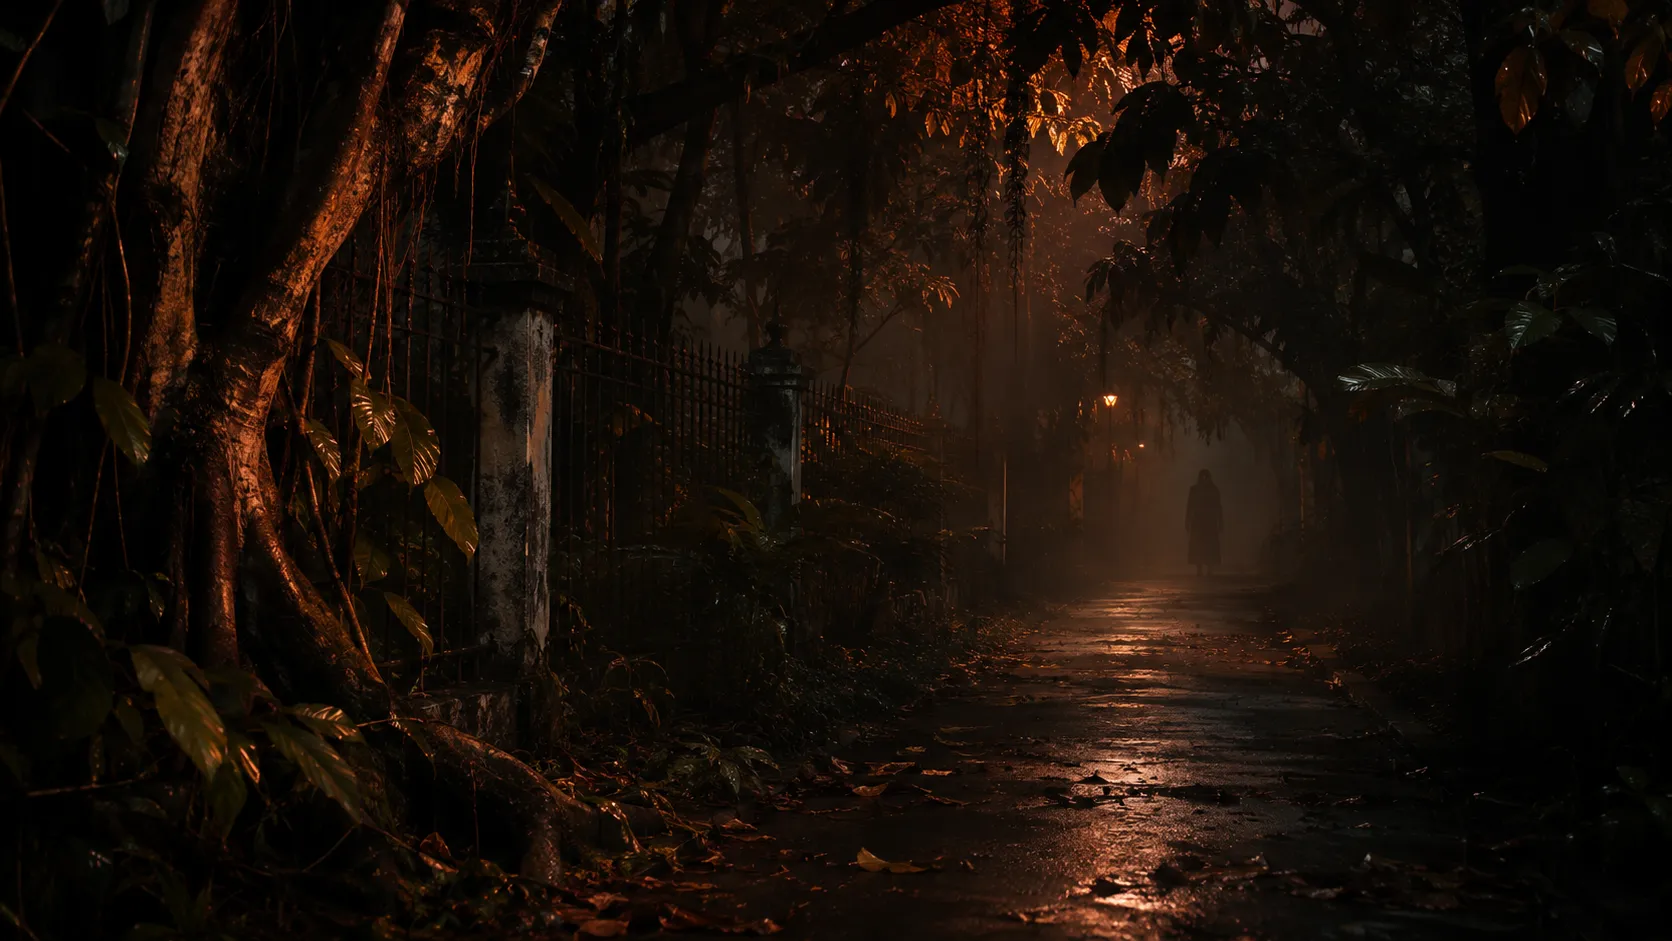
A student cinematographer is doing a test of their second hand night vision camcorder outside a garden with a fence. They do a quick test recording but hear some footsteps off screen. When they look back they can see a blurry figure in the distance behind a tree. The figure never runs or attacks but the recording shows something impossible.
The footage is from a single perspective and the task is simple meaning it looks realistic. Using script planner tool create a scene breakdown based on the storyline. The scene should have a clear beginning, problem, discovery and open ending.
Before creating any visuals, write down three rules:
- Camera: All the footage should be from the same handheld camera. No overhead or reversed shots.
- Setting: The fence, tree and path should all be in the same place.
- Ghost: The ghost can only be seen indirectly or in the distance. No close up monster shots.
A Six-Beat Night-Vision Found-Footage Storyboard
Try to keep this to 60 seconds but you can adjust as you edit.
| Beat | Duration | Camera action | Suspense cue |
|---|---|---|---|
| Calibration | 0–10 sec | Steady POV frames fence and path | Room tone, quiet breathing |
| Interruption | 10–19 sec | Quick pan toward moving leaves | Dry footstep off-screen |
| First glimpse | 19–31 sec | Slow return to distant tree | Faint human-shaped outline |
| Recheck | 31–42 sec | Hesitant zoom and focus hunt | Outline disappears behind branch |
| Displacement | 42–52 sec | Camera dips, then rises | Figure seems several meters closer |
| Empty path | 52–60 sec | Locked view of vacant walkway | One footstep beside operator |
Beats 1-2
Start with a clear shot so the audience know where the fence, tree and path are. Mention you are doing a test ("Recording test, one") so the audience know why the camera is on. The camera should slightly shake to give a reason for the first pan. Keeping the scene clear means the ghost will make sense.
Beats 3-4
The ghost should only be slightly darker than the foliage. Let the audience see the ghost before the camera operator. The ghost should be out of focus for a short amount of time. Don’t show any graphics of the headless ghost. Suggest the ghost has an incomplete top half using the branch and keeping it in the distance.
Beats 5-6
Break one of the rules. Whilst the camera lowers, switch between two matching setups. Move the ghost closer in the second shot. Finally remove the ghost completely. Keep the final footstep very close to the microphone. This will create the scary moment.
Make Night Vision Look Like a Recording System
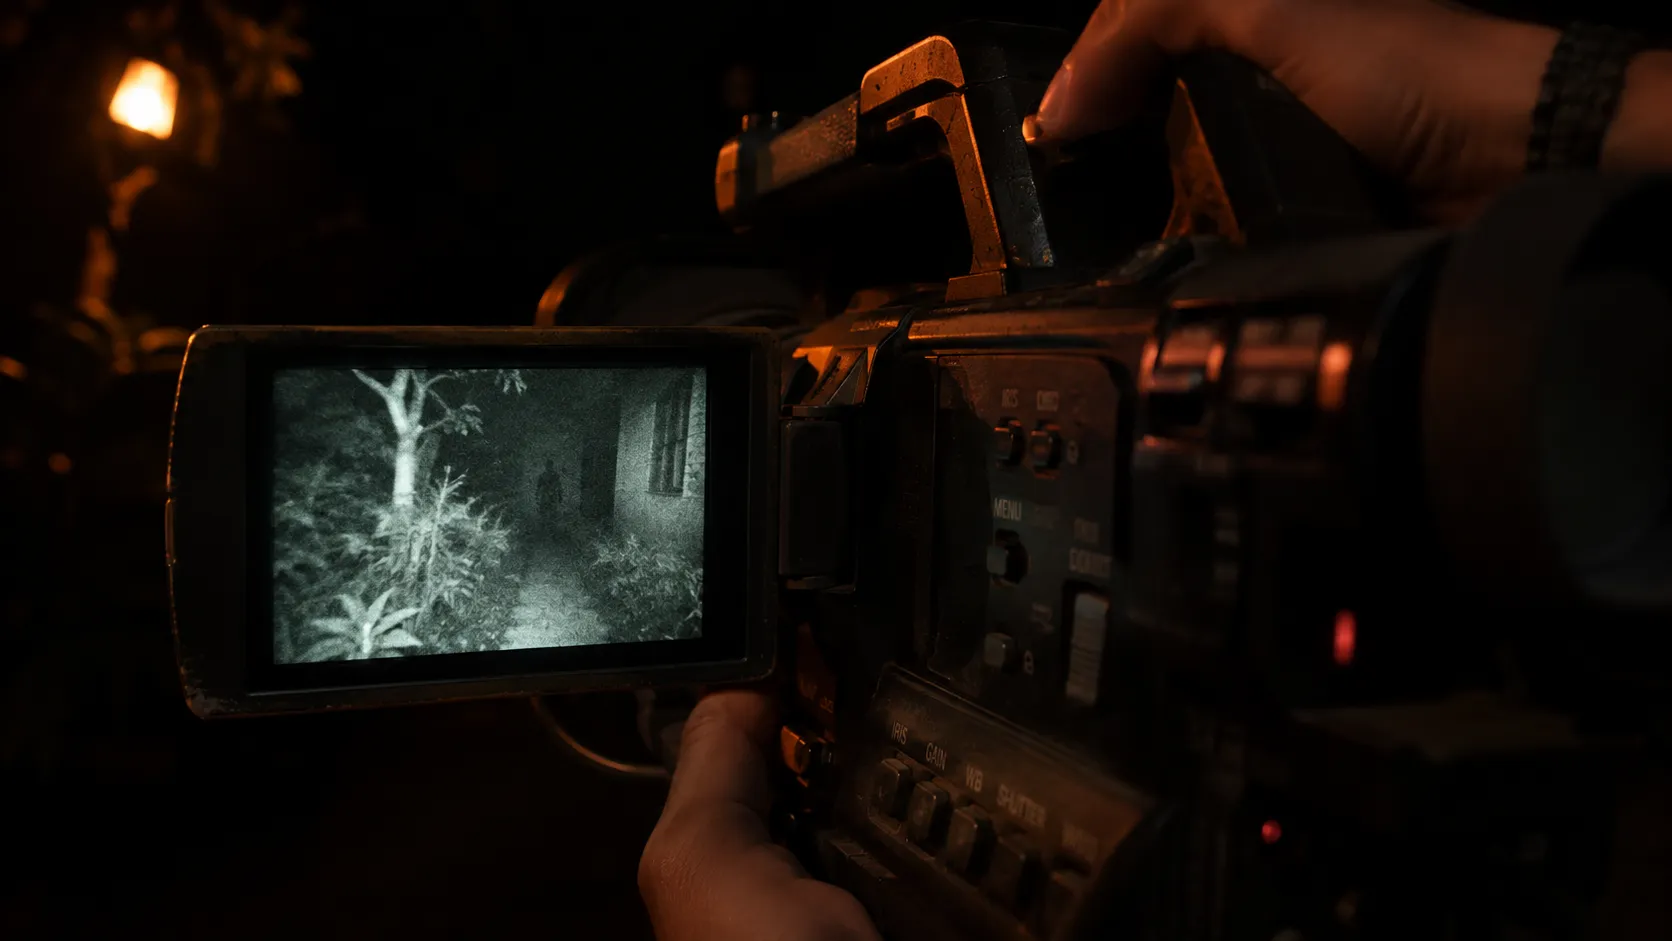
To make the found footage realistic the camera should behave consistently. Night vision cameras can vary so the camera can look like a consumer camera using infrared. This will create a black and white look, blown out nearby foliage, grainy shadows and little background detail.
Create a style sheet:
- Lighting: Nearby leaves will be brighter than those further away.
- Focus: The camera will focus search slightly as the camera pans from the fence to the background.
- Shake: The camera will have a slight shake whilst observing but will be more defined when surprised.
- Compression/Noise: Rarely there will be compression block or short noise glitches.
- Audio: The fabric will move slightly and there will be some breathing. The footsteps can be kept in the distance until the final beat.
Add a fake time stamp whilst editing. This is part of the story telling and doesn’t mean it is a real incident.
AI Prompts: Path & Ghost
Create a still to use as a reference. The path should include three points of reference; left fence post, centre tree and curved path. All should be included in the prompts.
Prompt 1: Test Shot
A fictional night vision shot of a path surrounded by a fence. Handheld camcorder. Fake black and white infrared lighting. Nearby leaves brightly lit and slightly over exposed. Trees in the distance are dark. Slight sensor noise. Left fence post. Centre tree and curved path. Realistic low light horror. 16:9. No text. No real cemetery signs.
Prompt 2: Ghost in Distance
Same fictional path. Same camera height. Slow shaky pan to centre tree. Ghost in distance with some branch cover. Incomplete top half. Subtle contrast. Slight focus search. Realistic handheld recording. No face. No blood. No supernatural effects. No text.
Prompt 3: Empty Path
Back to same path. Small dip in camera. Same fence post and tree. Empty path. Same infrared style lighting. Slight breathing from handheld. Long quiet shot. Realistic found footage style. No jump scare.
If any shots change the setup regenerate or simplify.
Creating Consistent Shots in Xelta
Play around with generating images/videos in Xeltas Cinematic Studio. Decide on the type of scene, camera feel, colour and lighting. Use project items to organise your references to the location and props. Review your outputs.
- Create your reference. Create your empty path first.
- Keep your references consistent. Use the same fence, tree, path and lighting.
- Create short shots. Create each beat individually.
- Only add the ghost in beats 3-5.
- Check your transitions. Ensure the first and last frames of each clip match up.
- Export your footage. Add your audio, timing and text in a video editor. This will allow you to make precise changes.
You can use a separate AI video generator to create potential moving shots from your scene descriptions or reference image. Choose the best ones for your story. Don’t choose overly smooth professional looking shots. This will ruin the fake recording effect.
Editing & Audio: Selling the Unseen
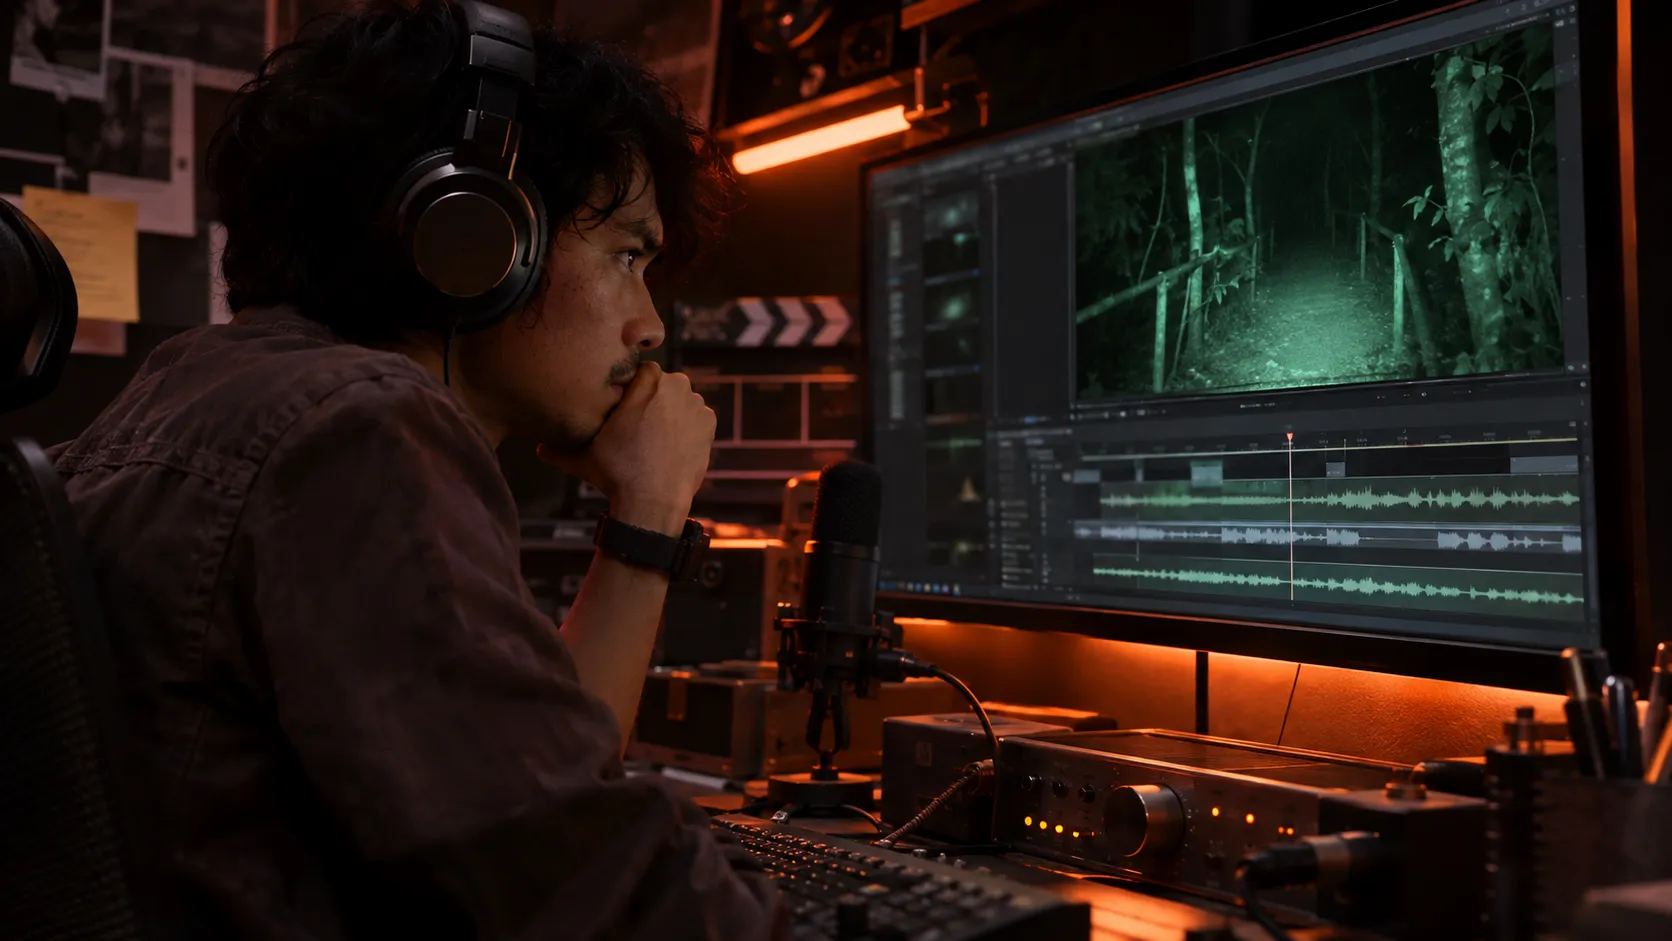
Make your edits look like they were done under pressure. The test shot should be longer than expected, one pan should go past the intended point and don’t use too many glitches. Keep the tree and fence in the distance for the social vertical cuts. If you crop the image too tight you won’t get the visual comparison needed to make the ghost move make sense. Preview your reveal on your phone. Keep subtitles away from the ghost.
Add some realistic audio. Gravel, fabrics, breathing, distant traffic and occasional animal noises. Keep the first footstep out of shot and move the final one to an uncomfortable distance. Don’t use any audio from existing films. Don’t make the normal noises seem like they are from real paranormal activity.
Finally play through your piece with the sound off and with your eyes shut. With the sound off you should be able to tell where you are and that the ghost is moving further away. With the sound on you should be building up tension. If you struggle with either, adjust your editing.
Common Mistakes
There are three common issues with AI horror pieces. Firstly the architecture isn’t consistent causing the fence/tree to jump between shots. Secondly the monster is over designed and answers the main question. Finally the camera movements aren’t realistic as they look like a professional trailer.
To fix this use the same reference, keep the ghost as a shape in the distance and give a reason for all the movements. Keep the scene clear rather than adding pretty glitches.
Final Thoughts
This is a great challenge to overcome as the most recognisable image should be kept as a mystery. Carefully create your found footage to suggest the ghost is there without copying any adaptations. Don’t film any mourners and don’t make it look like a real sighting.
Create one controlled location. Keep the visuals consistent. Break one rule towards the end. Use the limitations of the night vision, keep the audio simple and use AI alternatives to test your reveal. Often the best final image will be an empty shot.
If you want more ideas for creative AI story telling visit Xelta Indonesia on LinkedIn.
Frequently asked questions